How to Make Fondant Silhouettes

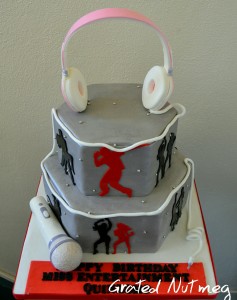
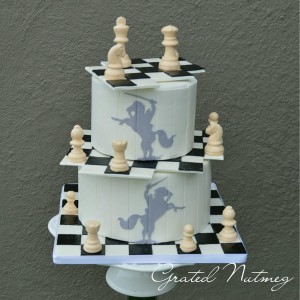
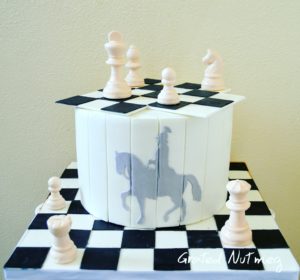
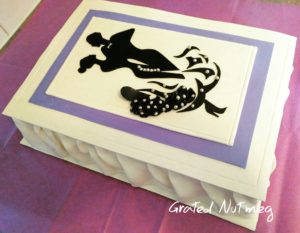
In this tutorial, I explain the process of making 2D fondant silhouettes which can be used to design cakes. They can also be used as cake toppers. Though I will be making silhouettes of dancing people, the same technique can be used to make any other type of silhouette of your choice. They are very easy to make and require only a few tools.
TOOLS:
(1) Silhouette Print Out. (See Note 1)
(2) A Sharp Blade of X-Acto Knife
(3) A Paint Brush
(4) Rolling Pin
EDIBLE COMPONENTS:
(1) Fondant. I used marshmallow fondant.
(2) Black Color Paste (Or any color of your choice).
(3) Vodka
NOTES:
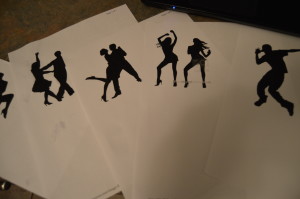
(1) To make your silhouette templates, do an online search of the silhouettes you need. An easy google search for “dancing silhouettes” for instance will produce the images I used here and a lot more. Print out the silhouettes and use a sharp blade to cut them out to produce templates which will be used to cut out fondant.
PROCEDURE:
These silhouettes are a type of 2D fondant toppers. I have a very detailed post on how to make 2D fondant toppers in general. That post can be found here. It will help you understand some of the procedures here better.
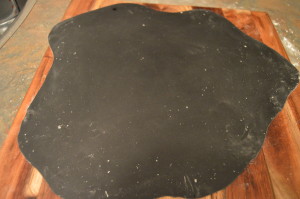
(1) Color your fondant and roll it out into a flat thin layer. I prefer to use fondant which is at least a day old for 2D cutouts as the dryer your fondant is, the easier it would be to cut and the least likely it would drag and lose shape during cutting. After rolling out the fondant, leave it to dry out for 30 minutes more.
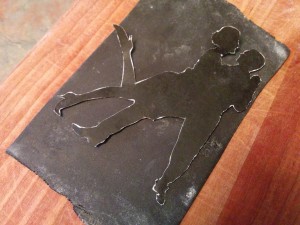
(2) Cut out the fondant into smaller pieces the size of the templates, place a template on the fondant and cut it out using a very sharp blade or x-acto knife.
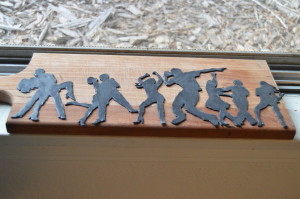
(3) Dry the cutouts for about 48 hours.
NOTE: If you are going to use the silhouettes on the sides of a round cake like in the cakes below, do not dry them before using.
(4) Brush the cutouts with vodka to remove icing sugar or corn starch residue and add some gloss. Leave them to dry for a couple of hours and they are ready to be used on your cakes




You are a genius. God bless you
Thanks Joy.
This is awesome, thanks Terry
Thanks.
fab
Thanks
your tutorials are always helpful.thanks alot.
I’m glad you find them helpful. You are welcome.
Thumbs up dear. You are just too good to be true. Keep it coming!
Thanks
Thanks for sharing Terry. God bless
You are welcome.
Terry vc tem canal no YouTube? Vc é showww
Hi. No YouTube yet.
Terry dear! U re d BOOM. Thanks
You are welcome.
very detailed..thanks for this.pls,how can i make my fondant very black?..when i add black wilton colour to my fondant it comes out gray/ash..thanks!
That’s always the challenge. You just have to keep adding black color until you arrive at the desired shade of black. The negative is that when you add too much, it breaks down your fondant. I would advice coloring it the day before as colored fondant darkens as it sits. Some people suggest adding cocoa powder to the fondant before adding black color. I tried that once and my fondant started disintegrating. All the best.
U r the best..been wondering how this is done.thanks
You are welcome Maris.
Have b wondering,but thanks alot.pls what did u pour on d cap cake to make it glitter
I brushed it with vodka. See the tutorial here.
*dancing* thanks Terry! Dint know this before now. More grace nd. Wisdom. Thank u so so much.
You are most welcome
Pls, where can I send my likes?
Thanks. I have a Facebook Page called Grated Nutmeg.
Thanks for the tutorial was really helpful. Pls besides vodka what other liquid can one use?
You can use a bit of water.
Terry ur simply the best
Thanks Olivil.
Pls if I want to use the cut out as a topper, do I need to roll the fondant to be so thin like you did. Also can I use florese wire in place of the candy stick you used? Thanks for the detailed tutorials
For a topper, it can be as thin or thicker. Yes you can use floral wires. What I do for flat toppers is to stick candy sticks behind them using melted white chocolate and simply insert the sticks into the cake.
It makes lots of sense. God bless you for the tutorials u have been giving. Many thanks.
Thank you for another great tutorial, Terry.
You are welcome.
This is really helpful, thanks Terry
You are welcome Nora.
You made it seem so easy, thanks for the tutorial, so so helpful.
You are welcome.