The Making of a Blue Jewelry Gift Box Cake

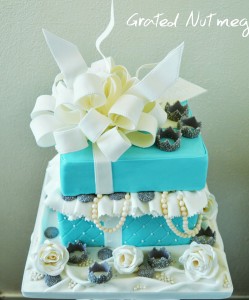
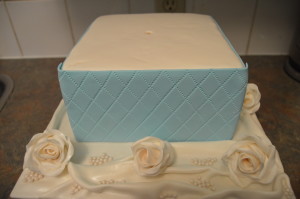
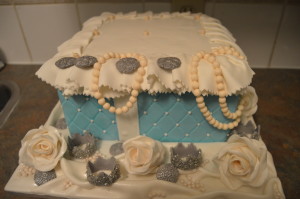
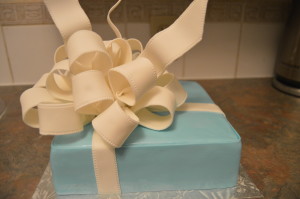
This is a post on how to make a 2 tier jewelry gift box cake, specifically this 2 tier blue jewelry gift box cake. This tutorial should aid you in creating other types of gift box cakes like those found here and many more. During the course of this tutorial, I will be directing you to other tutorials on the website.
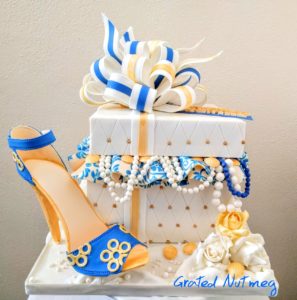
Below is the same box in white and gold.
THE PROCESS:
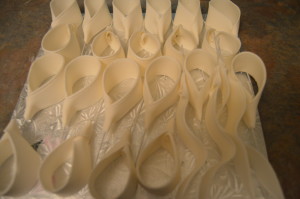
(1) First, some preliminary preparatory steps. The first thing you need to do is make the loops for the loop bow. These should be made about a week ahead so they dry properly. If they are not very dry when you use them, they most likely will break. A tutorial on how to make the loops can be found here.
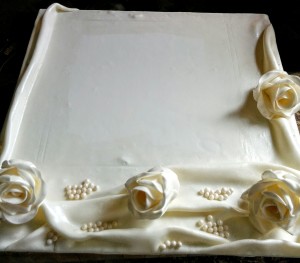
(2) Next, make the cake board. I have a tutorial here on how to make a draped cake board.
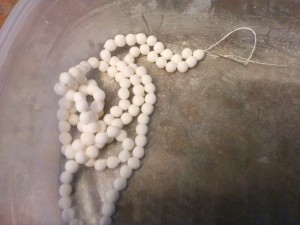
(3) Next, make the pearl necklaces. Again, there is a tutorial here on how to do this.
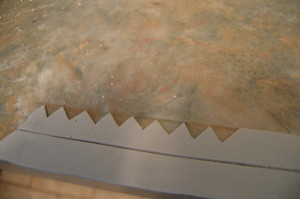
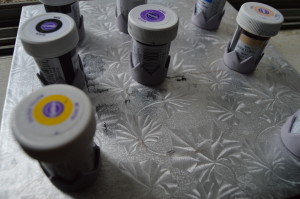
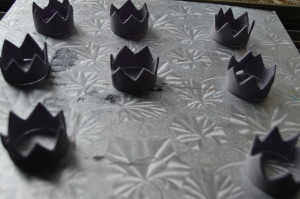
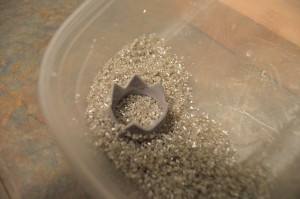
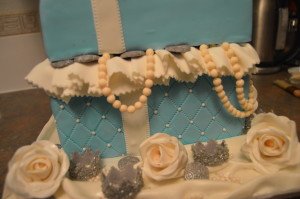
(4) Finally, make the crowns and ornaments. The ornaments were made using a button mold. For the crowns, I rolled out strips of grey fondant, cut out triangles on top and wrapped them around color paste bottles until they dried. Then I brushed them with vodka and dipped them in silver sprinkles.
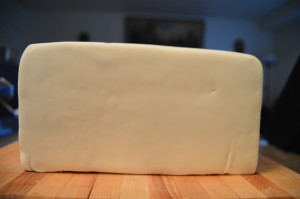
(5) Now to the cake itself. The first thing you need to do is drape the bottom tier with white fondant. The bottom tier is an 8 inch square which is about 4 inches high.
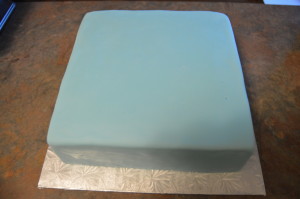
(6) Next, drape the top tier with sky blue fondant. The top tier is also an 8 inch square which is about 2.5 inches high. I generally try not to make my top tiers more than 2 inches high for aesthetic purposes. The height of this top tier was actually an error in judgement.
NOTE: As with all cake tiers, there should be a cake card underneath the top tier. The top tier is later going to stand on dowels inserted into the bottom tier.
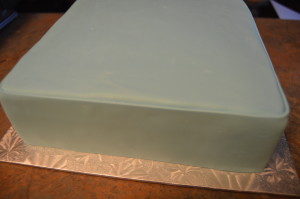
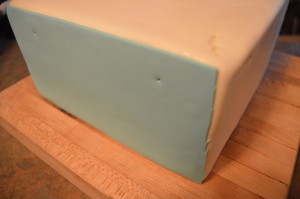
(7) Next, cut a strip of blue fondant the same height as the top tier and cover the sides of the top tier with it. Use water or vodka as your gluing agent. Keep the seam at the back of the cake.
(8) Next, cut a strip of blue fondant the height of the bottom tier and wrap the sides and back of the bottom tier with it. Again, using water or vodka as your gluing agent.
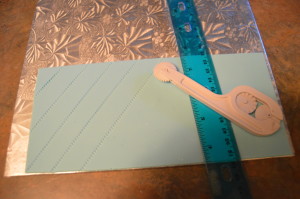
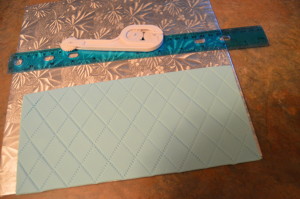
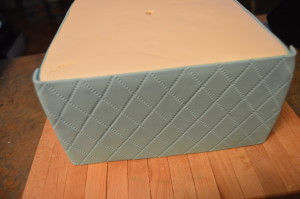
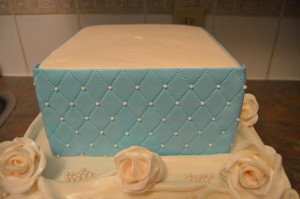
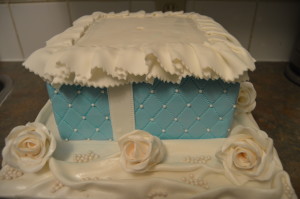
(9) Next, cut a strip of blue fondant the same height as the bottom tier but about an inch longer than a side (Thus, 4 x 9 inches in this case). This will be used to cover the front of the bottom tier. Using a ruler and a stitching wheel, draw intersecting diagonal lines to create a diamond pattern. Stick this to the front of the bottom tier. For a detailed tutorial on how I make my diamond patterns on cakes, click here.
(10) Next, apply melted white chocolate to the cake board and slip the bottom tier on the cake board from the back of the board.
(11) Next, brush the bottom tier with vodka to remove icing sugar residue and make it glossy. While the cake is still wet, apply white sugar pearls to the diamond patterns in front of the bottom tier.
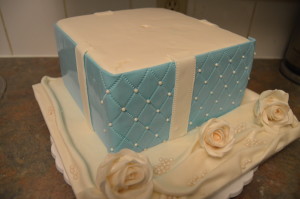
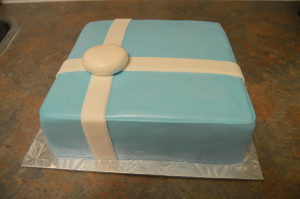
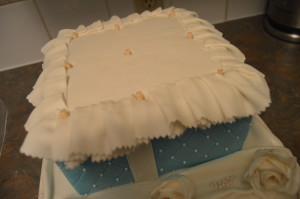
(12) Next, make the ribbons. Cut out strips of white fondant about an inch wide, run a stitching tool along the edges of the fondant strips and stick these to the sides of the bottom tier and the sides and top of the top tier. The ribbons are more towards one side of the cake (about 2.5 inches from an edge). Make sure the ribbons on both the top and bottom tiers align with each other.
At the point where the ribbons intersect on the top tier, place a round piece of fondant which will be used to build the loop bow later on.
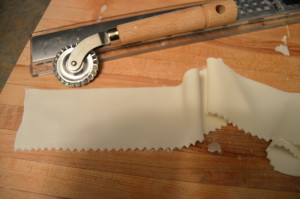
(13) Next, create the ruffles at the top of the bottom tier. Cut out strips of white fondant about 2 inches wide. I used a fluted pasty and ravioli wheel cutter to cut the edges of the fondant strips. Stick them to the top of the bottom tier folding as you go.
(14) Next, place dowels in the bottom tier. Unlike when you dowel other cakes, the dowels should extend a little bit above the cake. This will accommodate the ruffles, ornaments and pearl necklaces. If the dowels are the same height as the cake, the top tier will press on the bottom tier which will make the fondant sag and bulge (believe me, I arrived at this tip out of experience).
(15) Next place the pearl necklace and the ornaments at the front edge of the bottom tier. You can use some water to stick them to the ruffles. I also placed the ornaments on the cake board now. This however can be left until the end of the designing process.
(16) Next, go back to the top tier and build the loop bow following the instructions on my loop bow tutorial.
(17) Next, place the top tier on top of the bottom tier.
(18) Finish the cake by placing the remaining crowns and ornaments on the top tier and around the cake. Do not forget to cover the cake board with a white ribbon. That’s all there is to it. Happy baking.



This is lovely well done terry
You are welcome.
Thanks so much Terry.keep up d good work.
Thanks Tee.
Terry..may God bless u real good… guess u must be a teacher in a school..well detailed….. i neva knew vodka makes fondant glossy… which brand of vodka did u use?
Thanks. No I’m not. Any brand would work. Go for the cheapest you can find.
Thanks for all these beautiful tutorials, I’m a great fan and you’re indeed a live saver, God bless you real good Iin Jesus mighty name. I truly appreciate your good works.
Thanks Uruemu.
Thank you terry,u r the best.
Thanks Sophia.
Gorgeous! well done Terry
Thanks.
Nice work, dis is really helpful.
I’m glad you found it helpful.
Tank u so much for this tutorial God bless your hand work.nice job honestly
You are welcome.
pls Terry..do u have any tutorial for a traditional wedding cake? dont knw wether u have decorated any.
No I don’t Ego.
Hi Terry thanks for sharing, God bless ur hands, pls wats d best way to lift a covered cake unto another tier without hand imprints on d Cake body,or pls can u do a demo on dat, thank you.
Use a cake server/shovel to lift up the top tier. Always carry the cake from below and not hold the sides. Lower the cake gently on the lower tier using the cake server for support.
all ur work are so well done, but can do tutorials with whipped cream cake please and all tips on how to handle whipped cream as i find frosting with whipped cream very hard and can’t get a smooth finish
Hi. You can find a whipped cream frosting recipe here. I used this frosting on this Angel Food Cake and this Tres Leches Cake. I hope this helps.
Pls did you place a board in between d frst nd second tier??
Each tier has a board underneath it.
This is beautiful Terry, thanks for the tutorial, used to have problems with d loop bow, u make it look so easy. Thanks and God bless u.
Thanks. Its my pleasure.
Thumbs up Terry
Thanks
Thanks man been following ur blog for long nd have benefited alot,u make things so easy,God bless you.
Thanks Olivil.
Your blog is indeed a life saver. I’m self taught and ive learnt a whole lot from you. God bless you Terry. Keep up the good work
Thanks Jocelyn.
Dear Terry, I live in zahedan, south east of Iran. People always here are saying that we have the least facilities and doing something that you displayed here is almost impossible but my mom and I did it by just folllowing steps in this tutorial. Thank you Terry I believe God gives you the great power to bring smile on faces and big heart to share your knowledge through different cultures and nations. God bless you.
Ps.Can you please tell me how I can send you the cake photos?
Hi Kati. I am glad your cake turned out great. I saw the pictures. Amazing work! Thanks for leaving a note.
Hi Terry, am so glad to have stumbled upon this tutorial today. I have an engagement cake to make this weekend and I will surely post the end result of the jewelry box. Thanks bro
Glad I could help Bunmi
Thank you Terry for the tutorial. Now I know you can use cake for the top tier. You make it look sooooooo easy. God bless you.
You are welcome.
Thanks Terry for sharing knowledge once again.
You are welcome Seun.