The Making of an Avant-garde Wedding Cake

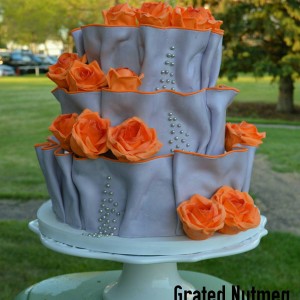
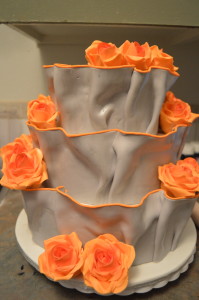
This is a post on how I made this avant-garde wedding cake. You would agree with me that it is not your every day wedding cake. It’s uniqueness is one which can be appreciated and interpreted in various ways. Below, I will be sharing some tips on how to arrive at this and other cake designs. To see other views of this cake, click here.
THE PROCESS:
(1) The first thing you want to do is make the roses. You will need about 15 roses. I have a tutorial here on how I make my roses. The middle of these orange roses were brushed with red color dust before steaming.
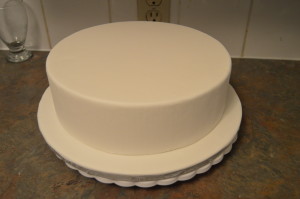
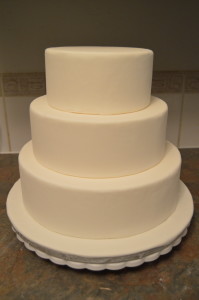
(2) Drape your cake tiers with white fondant. The size of the tiers are 6, 8 and 10 inches. Also cover a 12 inch cake board with white fondant. Use melted white chocolate and dowels to stack the cake tiers on each other. For more on cake stacking, read this post.
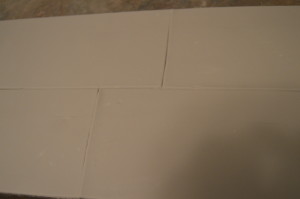
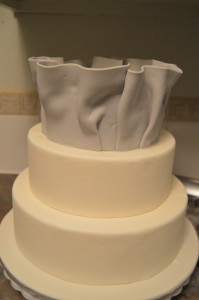
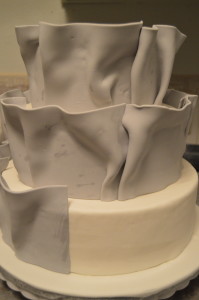
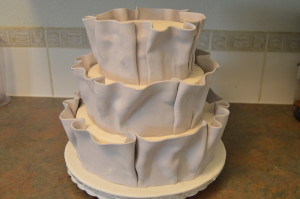
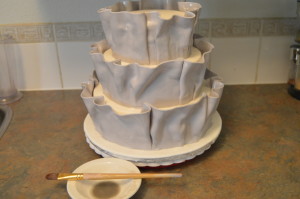
(3) Next, color fondant grey using a bit of black color paste. Roll the fondant with a rolling pin and cut it into strips an inch higher than the cake tiers. Each of the tiers here are about 3 inches so the fondant was rolled into 4 inch strips. Divide each strip into portions of about 8 inches long for ease of transfer.
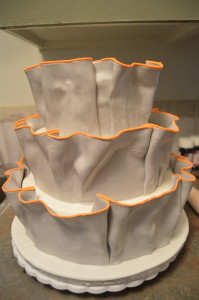
(4) Starting with the top tier, brush the sides of the cake with a little bit of water or vodka. Working with one fondant strip at a time, begin wrapping the tiers with grey fondant, folding and pleating as you go. Try to fan out the top of the grey fondant wrap as much as you can. As soon as you are done with one wrap, take another and continue wrapping. Try to hide the seams in the folds. Again, make sure you start with the topmost tier. The process will be more difficult if you start with the bottom tier.
(5) When you are done, leave the fondant this way to dry. This could take about 3 hours. I wrapped the cake the night before and continued decorating in the morning. When the fondant has dried properly, mix a little bit of silver luster dust with vodka and brush the grey wrap with the mixture. This will add some gloss to the cake. Do not use a lot of silver luster dust so as not to create streaks on the cake.
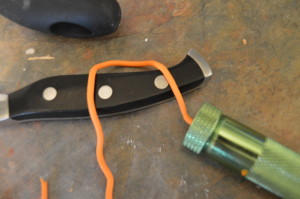
(6) Next, make thin ropes with orange fondant and place these around the top of the silver wrap. These ropes can be done by hand or with an extruder as I did. If the ropes are placed immediately you are done brushing the cake with the vodka mixture, you will not need to use any liquid to stick the ropes to the cake.
(7) Next, place the roses on the cake. The placement of the roses is very important. It could be the difference between an amateur looking cake and a professional one. Try to place them more towards the sides of the tiers and not in front.
(8) Finally place some silver sugar pearls on the tiers. There is no system to doing this. Your goal should be to create flowing patterns with the pearls. Use a bit of melted white chocolate to stick the pearls to the cake. Try to embed them into the cake as much as possible so they do not fall off. Do not forget to cover the sides of your cake board with a ribbon. That’s all there is to it. Happy baking!


Wow!
Thanks
Honestly u’re too much. Ddis is more dan creativity. Weldon Oga Terry. More inspirations sir. God will continue to increase u in knowledge n wisdom IJNA. Tnx for always sharing wtout reserve. God will reward ur good heart Amen. Will try dis.
Thanks Lynwabs. I’m grateful.
Wow. Just discovered your page today. I love it.
Thanks Judy. Glad you are here.
Nice one Terry! I use same extruder as yours and equally use MMF as you do but my MMF find it impossible to push through the extruder. Could there be something wrong?
The MMF must be very soft. I usually reheat it in the microwave before using in an extruder.