The Making of a Two Tier Zebra and Hot Pink Cake
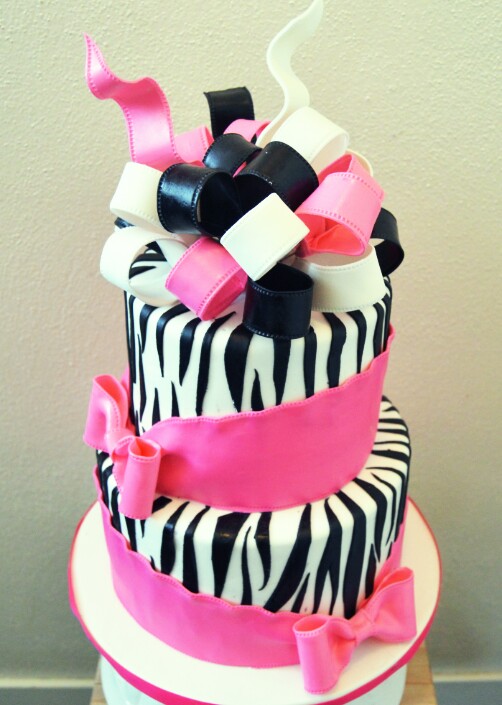
This is a tutorial on how to make this chic zebra patterned cake with touches of hot pink. As you will see below, this is a cake you can easily play with in order to arrive at various designs. In this tutorial, I will also be sharing links on how to achieve some of the designs on the cake. To read more about this cake, click this link.
THE PROCESS:
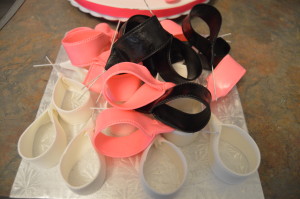
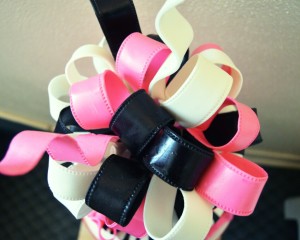
(1) The first think you want to do is make the loops for the bow. I have a tutorial here on how I make my bow loops. I will advice making them at least 5 days before hand. They can be made months ahead. Do not try making them the day of or the day before as they will be too soft and fragile and will collapse.
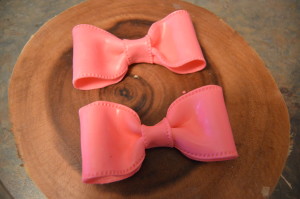
(2) The next thing you want to do is make the bows for the tiers. Again, I have a tutorial here on how to make these simple bows. These do not need to be made before hand. I however strongly advice that you do so they dry which will make them easier to handle. Again, one less thing to do on a “D-day.”
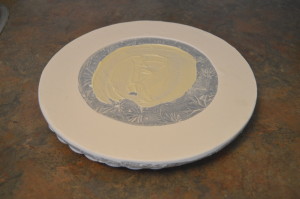
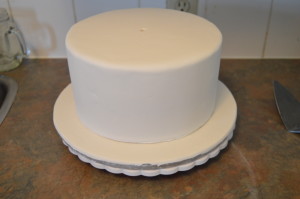
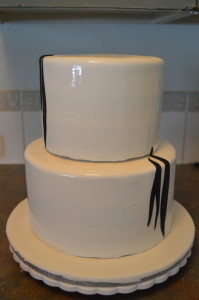
(3) On to the cake designing itself. Cover your cake board with white fondant. See how I cover my cake boards here. Melt some white chocolate and spread on the cake board. Frost and drape both cake tiers (9 and 7 inches each in diameter and about 4.5 inches in height) with white fondant and place the bottom tier on the cake board.
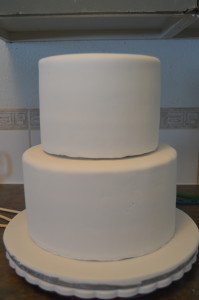
(4) Next, place dowels in the bottom tier and stack the top tier on it. A tutorial on how I stack my cakes can be found here.
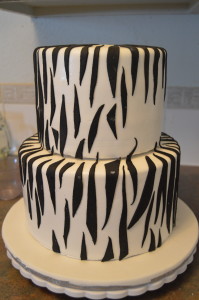
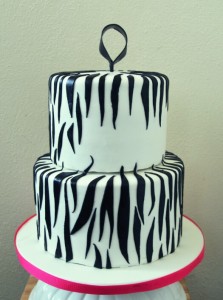
(5) Next, cover the tiers with the zebra pattern. Again, you can find a tutorial here on how I make my zebra pattern on cakes.
(6) Next, When you are done, use some vodka to brush the black parts of the zebra pattern in order to remove any icing sugar residue. Be careful not to use too much vodka so the color does not bleed. Use a small brush so you have better control of the vodka and not stain the white portion of the cake. Lastly, avoid using water as much as possible as you want the liquid to evaporate quickly.
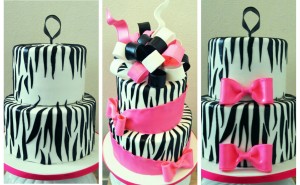
This cake can be left this way or designed with the bows. Some times, less is more.
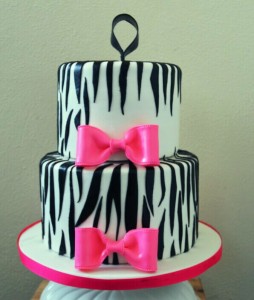
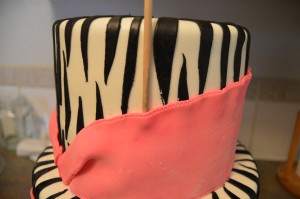
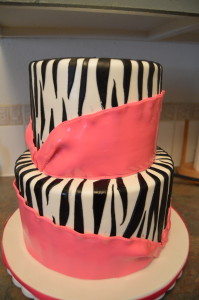
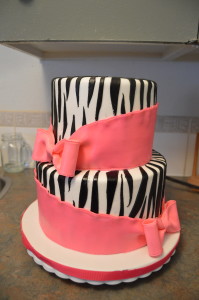
(7) Next, roll out some hot pink fondant, enough to go around each tier. Cut it at a curve with the highest point being about 1 inch shorter than the cake tiers. Wrap these around both tiers so the tips end up at opposite sides of the cake. Fold the ends of the wrap so they are hidden by the bows when they are placed. Use the end of a thin paint brush to make ruffles at the top of the pink wraps.
(8) Stick the bows to both ends of the wraps with some melted white chocolate. Brush the pink wrap with some vodka to remove icing sugar residue.
(9) Finally place the loop bow on top of the cake following the steps in the loop bow tutorial. don’t forget to cover the sides of the cake board with a ribbon. That’s all there is to it. Happy baking!

Thank you Terry. And yes, sometimes less is more 🙂
Indeed it is 🙂
Thanks!!! this is very educative.
You are welcome.