The Making of a Teddy Baptism Cake

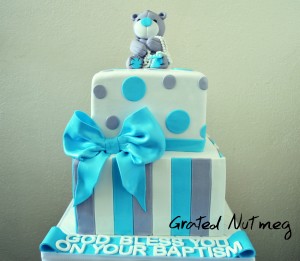
This is a tutorial on how I made this teddy baptism cake. This is an original design by Elite Cake Designs. To see other views of this cake, click here. It is an easy cake to make.
THE PROCESS
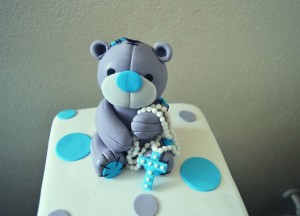
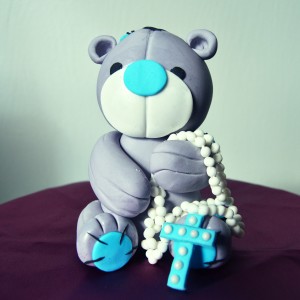
(1) The first step is to make the teddy topper. I have a pictorial here on how to make this topper. The topper should be made at least a couple of days ahead so it has time to dry. It can be made a lot earlier.
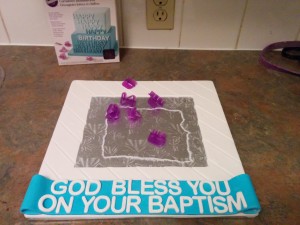
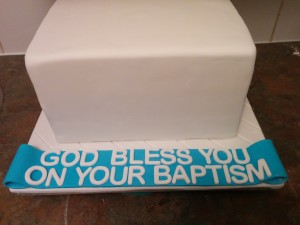
(2) Next, cover the cake board with fondant. I have a tutorial here on how I cover my cake boards. I used a fondant stitching wheel to make diagonal lines on the cake board. I used letter cutters to write the message on the board.
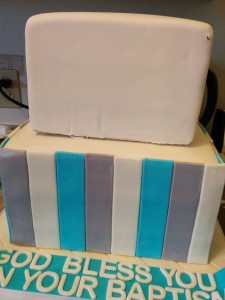
(3) Next, drape both tiers with white fondant. Place the bottom tier on the cake board and secure it to the board with melted white chocolate.
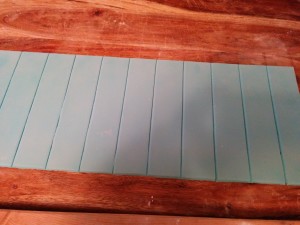
(4) Next, cut 3 colors (white, blue and grey) of fondant into 2 cm strips the same height as the bottom tier.
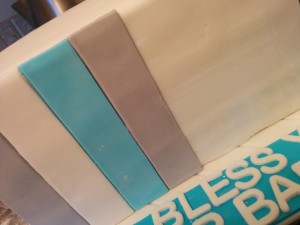
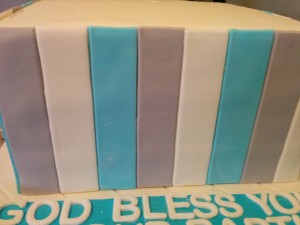
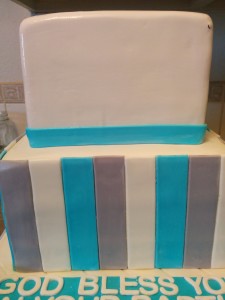
(5) Next, brush the sides of the bottom tier with water and stick the strips to the cake, alternating between the different colors. Cover the whole of the bottom tier with these fondant strips.
(6) Next, place dowels in the bottom tier, spread some melted chocolate on it and stack the top tier on the bottom tier. I have a post here on how I stack my cakes.
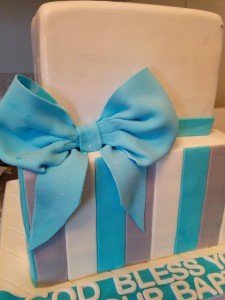
(7) Next, cut a thin strip of blue fondant and stick it around the base of the top tier.
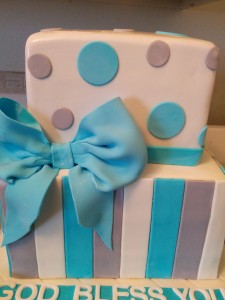
(8) Next, make a blue bow and place on the left side of the top tier. I have a tutorial here on how I make my fondant bows.
(9) Next, cut out grey and blue fondant circles and stick them randomly on the top tier.
(10) Finally, place the teddy topper on top of the cake and cover the sides of the cake board with a ribbon. That’s all there is to it. Happy baking!

You make these tutorials so easy to understand…….! Kudos Terry!!!
Thanks Kemi.