The Making of a Batman Cake
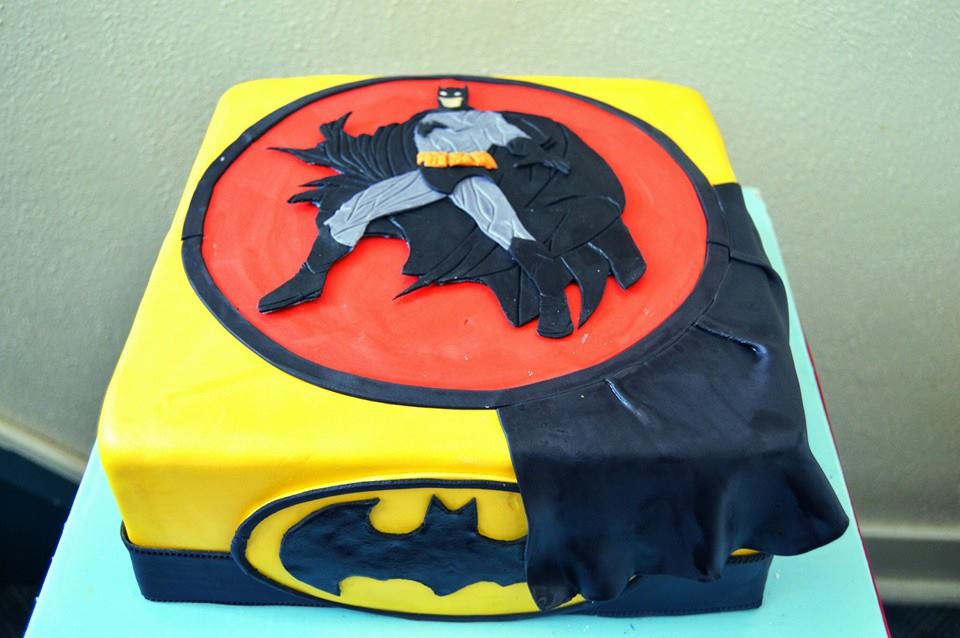
This is a tutorial on how I made this lovely batman cake. It was made for the birthday of a 2 year old boy. It is a very simple cake to make. To read more about this cake, click on this link.
THE PROCESS
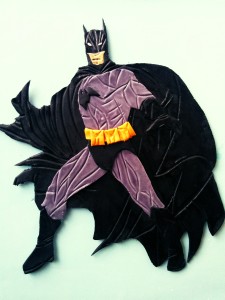
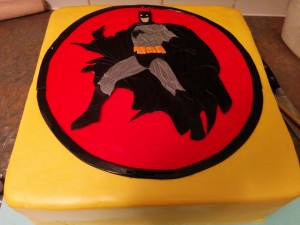
(1) The first step is to make the batman topper using my 2D fondant topper creation method. A tutorial on how to achieve 2D fondant toppers can be found here. A pictorial on how this batman topper was made can be found here.
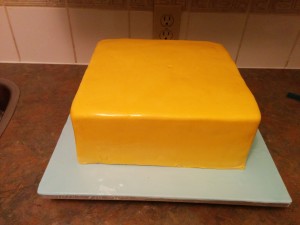
(2) Cover the cake board with sky blue fondant, drape the cake with yellow fondant and place the cake on the cake board.
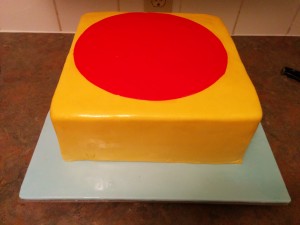
(3) Next, cut red fondant into a circle and place it on top of the cake.
(4) Next, create a black boarder around the red circle using a thin strip of black fondant about 1 cm thick. Transfer the batman topper to the middle of the red circle.
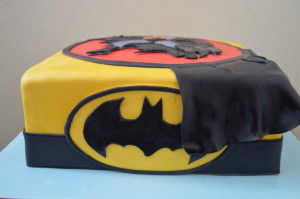
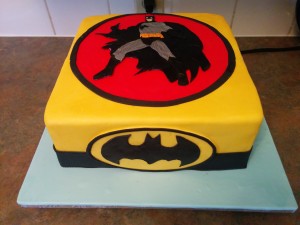
(5) Next, place a black boarder around the cake using black fondant. Make the batman logo using black and yellow fondant and stick it at the front of the cake. I printed the logo from the internet and traced it out on black fondant.
(6) Next, create a cape with some black fondant and stick it to one corner of the cake starting from the edge of the red circle. Fold the cape as you stick it to create some pleats. Be sure to “fluff” the base of the cape to create flow and movement. Brush the cape with some vodka when it dries to remove icing sugar residue and make it glisten. That’s all there is to it. Happy baking!

Awesome tutorial. You make it seem soooooo simple.
Thanks. It is simple 🙂
Awesome cake
Thanks Gloria.
What size cake is that ?
10″ square.
nice n simple. well done terry.
Thanks Nnenna.