The Making of a Crucifixion Cake
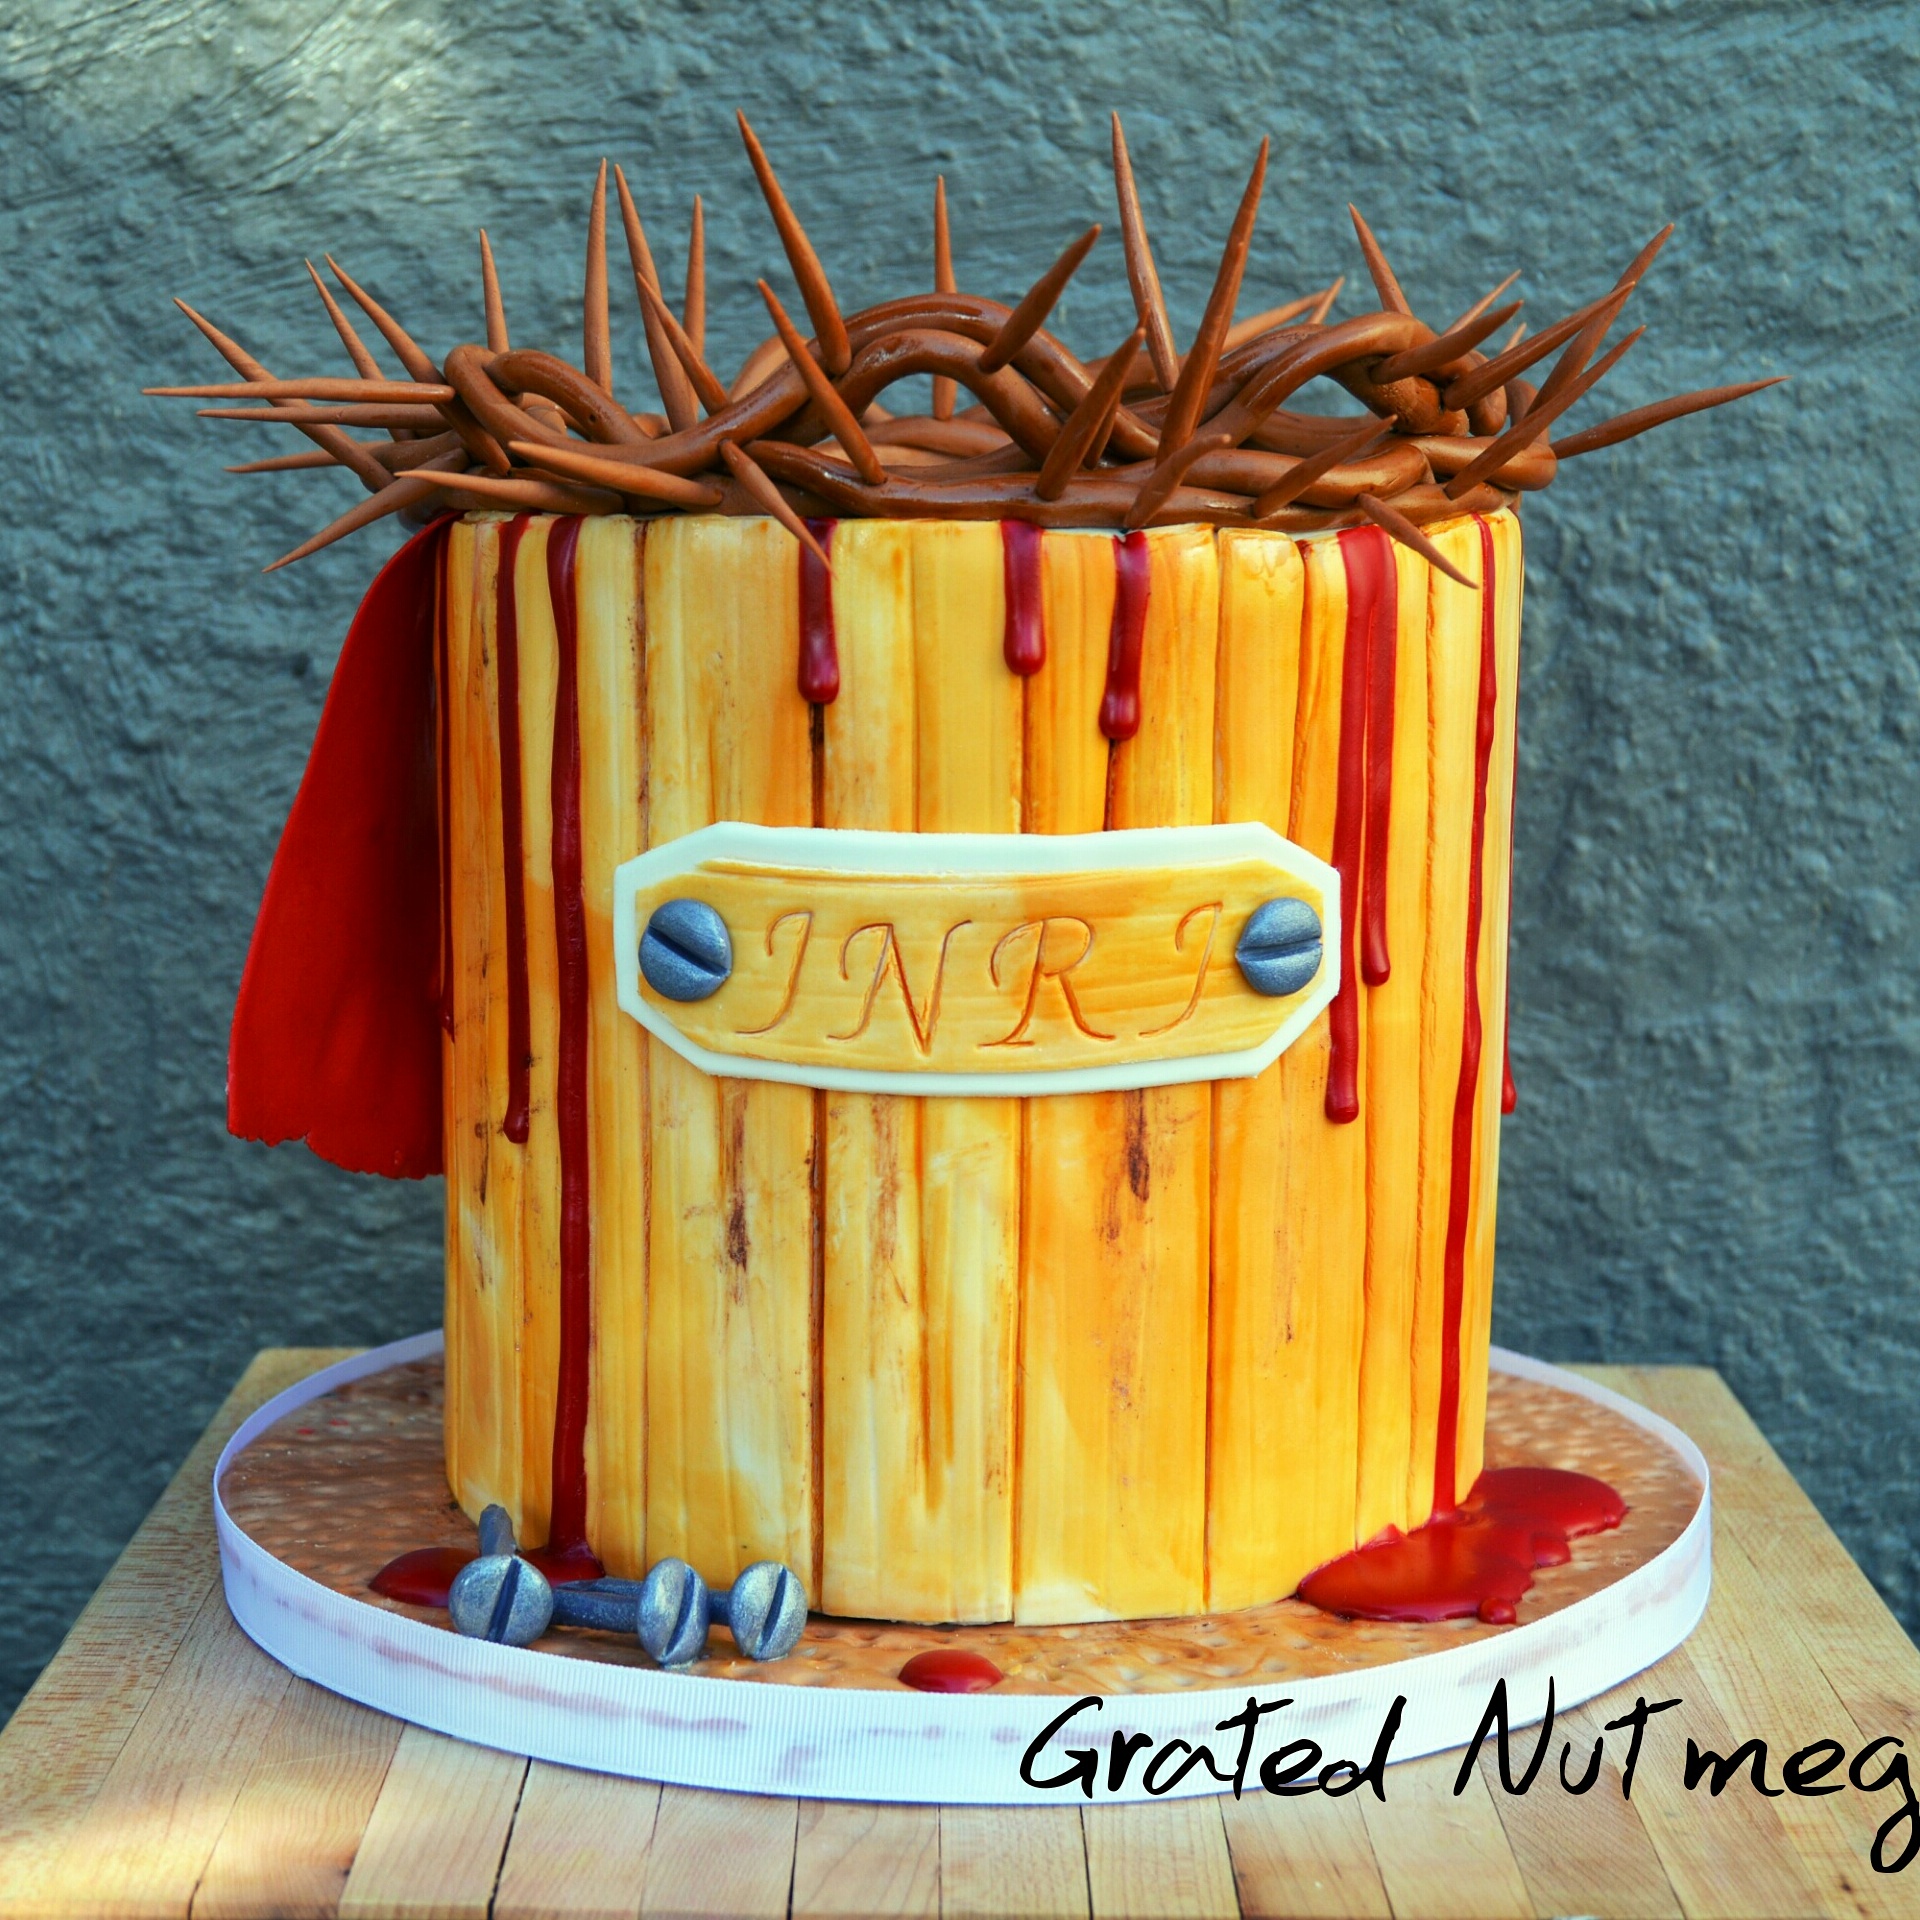
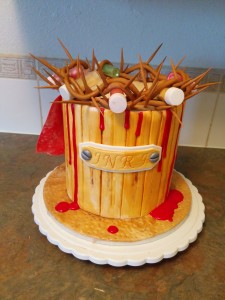
In this post, I will be giving a tutorial on how I made this Crucifixion Cake. It is an Easter cake which symbolizes the crucifixion of Jesus Christ. I have a post here with a detailed analysis of this cake and several pictures of the cake. Do check it out.
THE PROCESS:
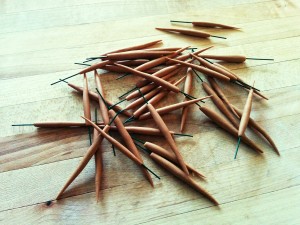
(1) The first step is to make the thorns. These should be made a day ahead of the cake because they need time to dry. To make them, color fondant brown. Cut floral wires into short lengths. Roll pieces of fondant into balls. Using your fingers and your work surface, roll the balls into pointed thorns. Insert a floral wire into the base of each thorn and leave these to dry overnight. Do not forget to keep your leftover brown fondant in a sealed container as this will be used for the other parts of the crown.
PS: Also make the nails now and leave them to dry. The nails have two parts, the head and the screw. Make each part separately using grey fondant. After they have dried, stick them together with melted chocolate and color them with silver pearl dust mixed with vodka. Do not forget to make 2 extra nail heads for the body of the cake.
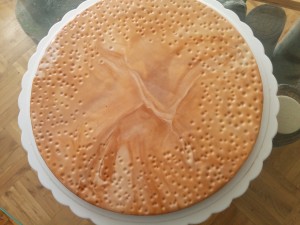
(2) Next, cover the cake board with fondant. I used brown fondant here. You can read more about how I cover my cake boards here. After covering the cake board, use the base of a paint brush to make pockets in it. This gives it a rough look.
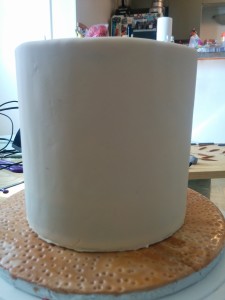
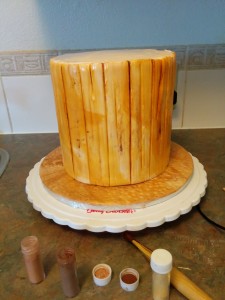
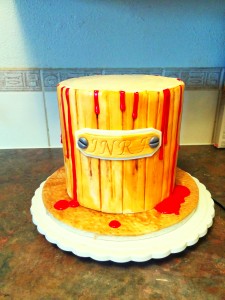
(3) Bake, tort, level and frost your cake. This is a 7 inch round cake. The height of the cake is about 6.5 inches. Drape the cake with ivory fondant and place it on the cake board using melted chocolate or buttercream frosting.
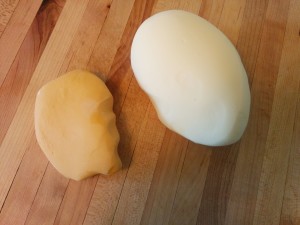
(4) Next, take about a 3rd of the leftover ivory fondant and color it a darker shade of ivory. You are going to combine both colored fondants in order to marbleize them. You can read more about how to marble fondant here and/or here.
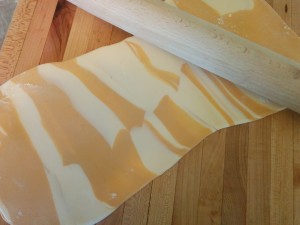
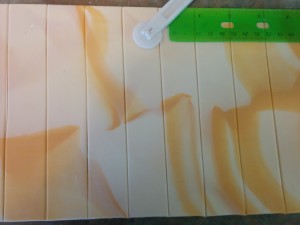
(5) Next, roll out the marbled fondant and cut it into a rectangle the same height as the cake. Using a fondant wheel and your ruler as a guide, portion the rectangle into 1 inch strips. These will be used to wrap the cake. For ease of transfer, segment the rectangle into smaller rectangles after every 3 strips.
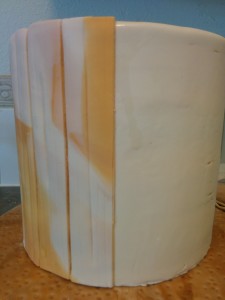
(6) Use the fondant wheel to make streaks and lines on the strips and stick them to the side of the cake using some water or vodka.
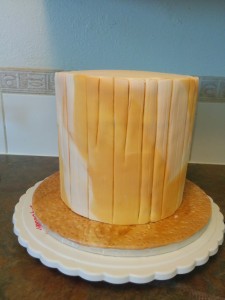
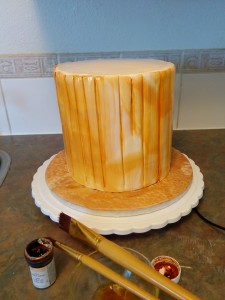
(7) Next, thin out some ivory color paste with vodka and brush the cake with it. The marble pattern will ensure that you get various color shades. When painting, you want to be as random as possible. Paint some parts of the cake darker than others. Try to make the lines between each strip prominent with the color.
(8) Still working on the body of the cake, use some brown, gold and bronze pearl dust to make streaks on the cake. In other words, dirty up the cake.
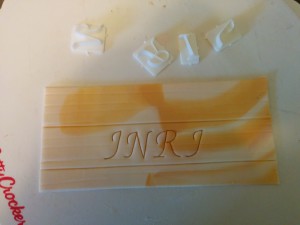
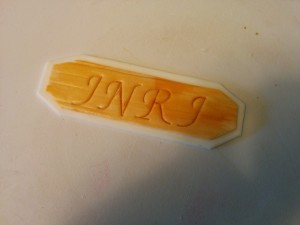
(9) Next, make the “INRI” sign for the cake. On some leftover marbled fondant, use letter engravers to write out the words. Cut out the fondant into a rectangle, cut out triangles from the corners of the rectangle, place the fondant on rolled out white fondant and cut out the same pattern leaving about .5 cm boarder around the initial cutout. Stick this to the cake and place the nail heads at both ends.
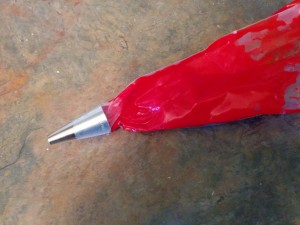
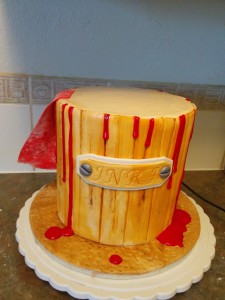
(10) Next, make the blood. Make a small batch of royal icing and color it red. You can use this royal icing recipe. Fill a pipping bag fitted with a round pipping tip with the royal icing and pipe some at strategic locations at the top of the cake. Allow the royal icing to run down the cake. You can use a little or a lot of icing depending on how far you want the blood to flow.
(11) Next, make the piece of garment. Cut out a thin strip of red fondant and stick it to the top of the cake. Place some paper towel between the red fondant and the cake until the fondant dries. The red fondant should be brushed with some vodka after it has dried to remove any icing sugar residue.
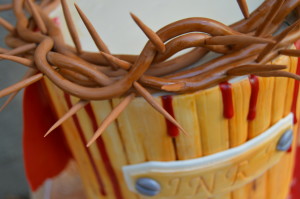
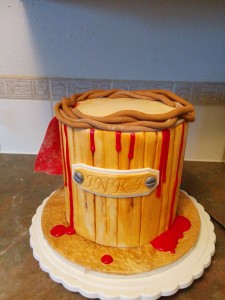
(12) Next, make the crown. Take your saved brown fondant and roll it into ropes. You can use your hands to do this (like I did) or use a clay extruder. If the fondant is too hard, run it for a few seconds in a microwave oven. Lay the brown fondant ropes around the top of the cake making sure they overlap each other.
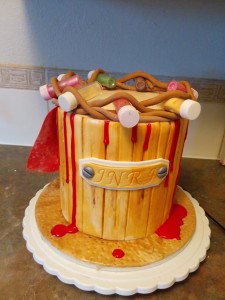
(13) Using paper towels, empty tubes, empty color bottles or whatever tools you have, place them in between the ropes to give the crown a full look.
(14) Next, Insert the thorns into the crown. This should be done randomly while the fondant is still soft. Leave the crown to dry for about an hour before taking out the tubes.
(15) Lastly, finish the cake by brushing the crown with some vodka and placing the nails on the cake board. Happy baking!

wow, this is beautiful
Thanks Eunice
Nice one Terry. Happy Easter 🙂
Thanks Naomi
Nice job I love it
Thanks Vivian.
Thanks Terry! This piece is very inspiring. Happy easter.
Thanks Blessing. Happy Easter.
Bravo Terry & thanks for the tutorial.
You are welcome Redeem.
Nice one as usual, well done
Thanks Funke.
It’s jst 2 wonderful
Thanks Bukola.
Wow,terry u are doing a great job….wish u were in Nigeria (Lagos) so I cud meet you and learn more. Nevertheless, pls how cud I get more of d’s ur tutorials…. tanx God bless. kip it up
Thanks Benita. You can find them here.
This is beautiful. Nice job Terry!
Thanks Juliet.