Fondant Carnations Tutorial

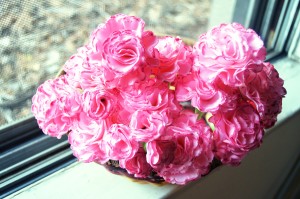
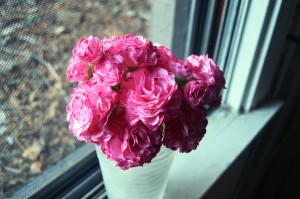
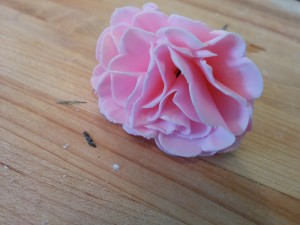
This is a tutorial on how to make these beautiful fondant carnation flowers. They are really quite easy to make and require only a few tools.
TOOLS:
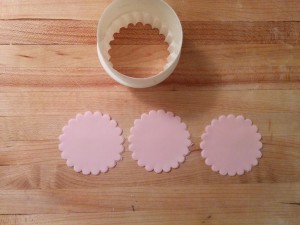
(1) Two Crinkled Cookie Cutters (3 inch and 2 inch)
(2) A Rolling Pin
(3) Paint Brushes
(4) Floral Wires
(5) Flower Drying Racks
(6) Round Frosting Tip (I used Wilton No. 10 Tip)
(7) An Electric Kettle, Hand Steamer or Pot of Boiling Water
EDIBLE COMPONENTS
(1) Fondant. I use marshmallow fondant
(2) Pink and Green Color Paste
(3) Water
(4) Pink Pearl Dust
(5) Vodka
PROCEDURE:
(1) Cut out floral wires into lengths of about 4 inches. Bend one end of the wires to form a loop.
(2) Color your fondant a light shade of pink.
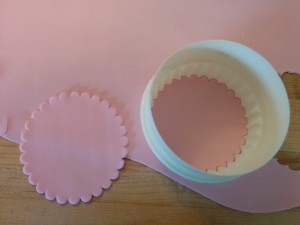
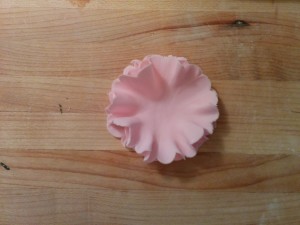
(3) Roll out the fondant and use the 3 inch cookie cutter to cut out circles. You will need 2 crinkled circles per flower.
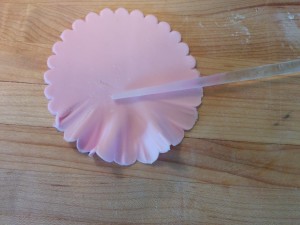
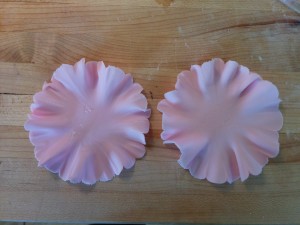
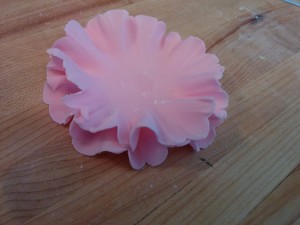
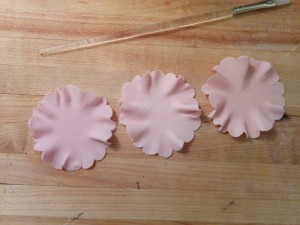
(4) Using the side of a paint brush, thin out the edges of the circles to create ruffles.
(5) Brush a little bit of water in the middle of a circle place the other circle on it.
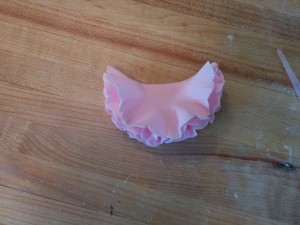
(4) Fold both circles to form a semi-circle.
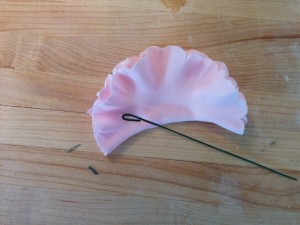
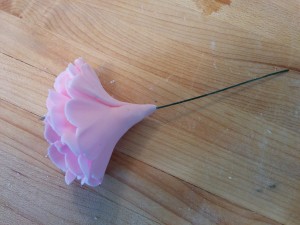
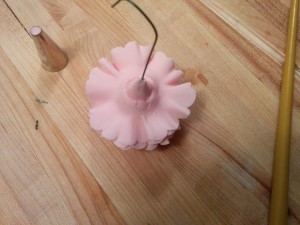
(5) Brush some water in the middle of the folded circle, embed a floral wire into one end of the semi-circle and wrap it around the wire. Be careful not to squish the ruffles while wrapping (light touch).
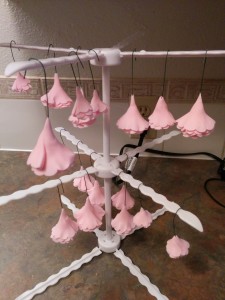
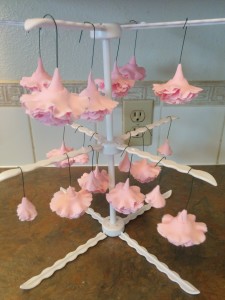
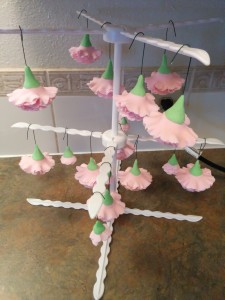
(6) Bend the other end of the floral wire and hang the flowers upside down on a drying rack for at least 8 hours, preferably until the next day. You need this part of the flower to dry so it is not indented during the rest of the process, thus affecting the bloom.
TIP: You can also make smaller flowers using a 1 inch cookie cutter. I love showing size variety in my floral arrangements.
(7) Roll out the leftover pink fondant and cut out circles using the 2 inch cutter. Note: The cutters here must be smaller than those used earlier on. You will need 3 crinkled circles per flower.
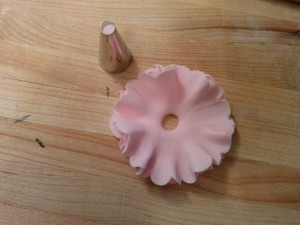
(8) Ruffle the ends of the circles like you did before and stack 3 circles on each other with water.
(9) Make a hole in the middle of the circles using the frosting tip (or any other tool of your choice).
(10) Brush around the hole with some little water and drape the circles over a dried flower. Push the circles as far down as you can so it forms a full bloom with the rest of the flower.
(11) Dry the flowers on a drying rack for about 5 hours.
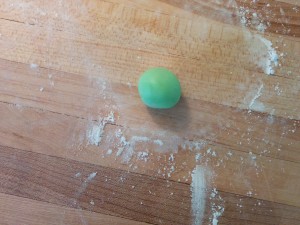
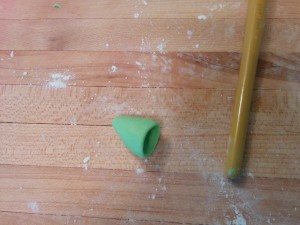
(12) Color some fondant green, divide it into small balls and shape them into cones using the end of a paint brush.
(13) Apply some water to the base of the flowers and push in the cones to cover the flower base.
(14) Allow the base to dry for a couple of hours.
(15) Steam the flowers for a few seconds (2 seconds max) over some boiling water. If you have a hand steamer, use it. This will make the flowers glossy.
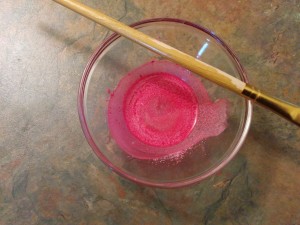
(16) Mix some pink pearl dust with vodka and use it to brush the tip of the flower petals.
(17) Allow the flowers to dry for about an hour before using. These flowers can be made weeks/months in advance.
BONUS TUTORIAL:
(1) Fondant Ruffles Flower Tutorial


Lovely well don terry
Thanks Dumski.
I’m so trying this, so easy yet extremely beautiful!!! Thanks
Do give it a go Peace.
Thanks so much Terry.very helpful tutorial
You are welcome Iyi.
This tutorial came just in time! This is perfect for a wedding cake! Thank you thank you! Awesome work terry
I’m glad I could help Janet.
Awwwwwww. They r soooo pretty Terry.Cant wait to try mine tomorrow. Hope its as beautiful as urs.
I’m sure they will be more beautiful.
Nailed it Terry. This was one of the first flowers I learnt to make. Hmmmm I just might go make me some for the fun of it.
Thanks Gloria. Maybe you should 🙂
Thank u so much for sharing..love every bit of it
You are welcome Palak.
awsum…work..thanks for sharing
Thanks
this is so easy. Thanks Terry.looking forward to more of ur lessons.
Thanks Ivie.
Well done boss
Thanks.
The genuis @ it again.well done
Thanks Christiana.
Nice one,tank u terry
You are welcome Buki.
Thank u terry
You are welcome
Thank you,for this tutorial. I learned and easy to understand.
I’m glad it helped Juliet.
Terry, Thanks for this great idea.
You are welcome.
Nice one Terry. God bless you
Thanks
I never imagined it could be this simple.Thanks Terry.
You are welcome Uche.
Thanks again! Pls how can i steam without hand steamer if it is possible?
Pls ignore that question. I jt found the answer in the equipment list. Thanks!
tanks sooo much @ janet i second u too. soo right in tym
You are welcome.
You inspire me Terry. Will get back to you with the results. Thanks for sharing.
Thanks Suzzan. I look forward to seeing it.
Wow this is awesome. will try them out. ps sir how can you store fondant flowers for months?
Yinka, make sure they are properly dry. Then place them in a large sealed container like tupperware. They can last for a couple of years or more.
Hey Terry Adido, I’am a brand new baker from Oklahoma City. I working on my first wedding cake in August, so one of the flowers she wont on her wedding cake are Carnation. I just wont to say you did a good job and, I’m going to do mine the same why. So I was woundering what flowers you can do and, if I need help on something will you mind helping me. If so how can I get a hold to you Thanks.
You are welcome Latoier. Glad I could help. You can find some of my other flowers here. You can always drop a message here or send me a message on my Facebook page also called Grated Nutmeg. All the best with your wedding cake in August.
Thank you for this wonderful tutorial, Terry. I think you have an adorable personality which comes through even in your interactions. And you have an admirable way of making the most complex of things look so simple. In my opinion, that is an absolutely great quality. You are constantly in my prayers, Terry. May God bless you immensely and enlarge your territoy, amen. #TaughtByTheBest
Thanks Joy.
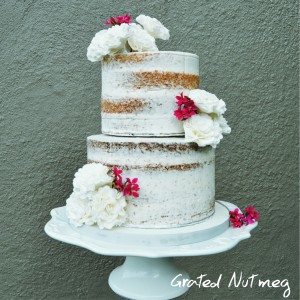
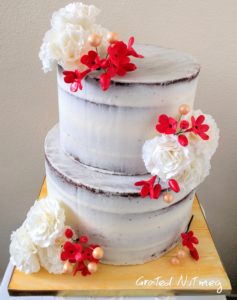
Terry, please how did you make the accompanying pretty little red flowers in the white carnations in the cake above? Thank you.
See this post.
U have been a great inspiration
God bless U awesomely for sharing Ur knowledge freely
Thanks.