Fondant Gerbera Daisy Tutorial
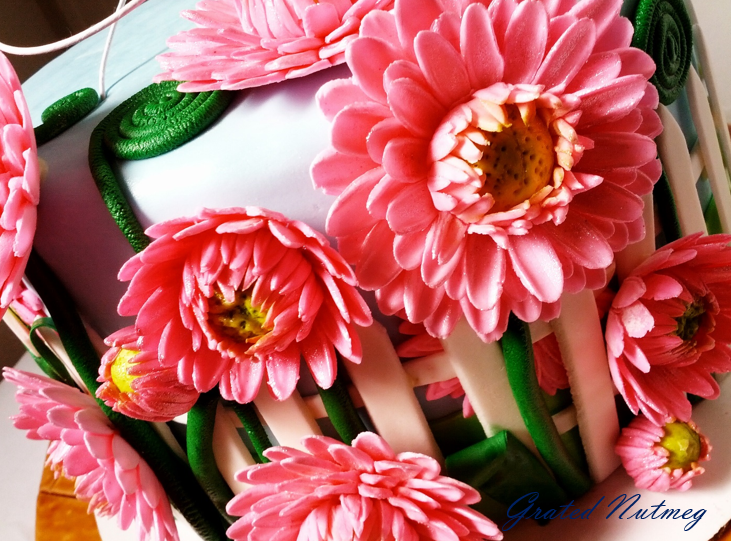
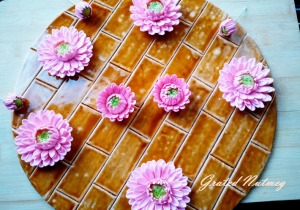
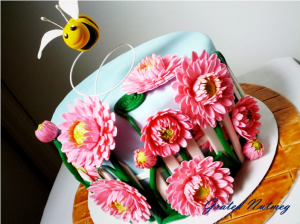
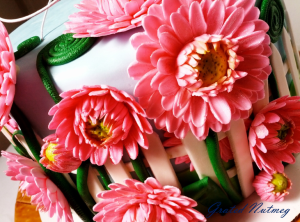
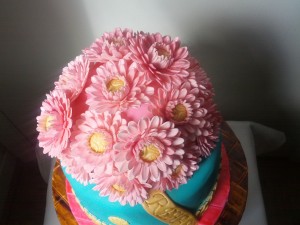
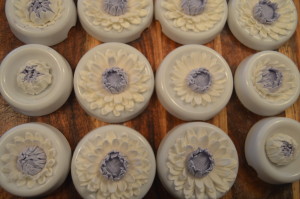
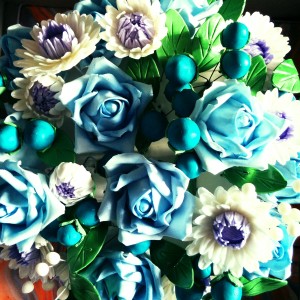
This is a tutorial on how to make fondant gerbera daisies which can be used as cake toppers. They are quite impressive looking and are sure to brighten up any cake. They can be used alone on a cake or with a combination of other flowers.
TOOLS:
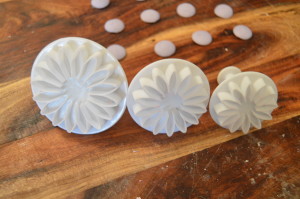
(1) Daisy Petal Cutters (See Note 1)
(2) Rolling Pin
(3) A Plastic Bowl with Lid (See Note 2)
(4) A Blade or Sharp Cutter
(5) Toothpicks
(6) A Button Mold (Optional)
(7) Paint Brushes
(8) Flower Drying Molds (See Note 3)
(9) Floral Wires (Optional)
(10) An Electric Kettle (See Note 4)
EDIBLE COMPONENTS
(1) Fondant. I use Marshmallow Fondant. Recipe here
(2) Color Paste
(3) Color/Pearl Dust
(4) Water
NOTES:
(1) Daisy cutters come in sets of 3. You will need all the 3 different sizes to make these flowers. These cutters are sometimes referred to as sunflower cutters and and can be found online on Ebay or Amazon.
(2) The plastic bowl will be used to store the flower petals after they have been cut out.
(3) In place of flower drying molds, you can use an empty apple crate. You can get these from most grocery stores which sell produce. Just ask for them nicely. You can also shape some foil paper to form a mold.
(4) The electric kettle will be used to steam the flowers after they have dried. This can also be done with a pot of boiling water or a hand steamer.
PROCEDURE:
(1) Color your fondant to your desired color. The cool thing about these daisies is that you can use two colors on the same flower: a darker color for the center of the flower and its surrounding petals and another color for all the other petals. You can also leave the center of the flower white and brush it with green color dust after the flowers have dried.
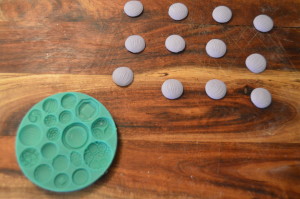
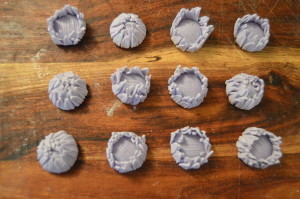
(2) The first step is to make the center of the flowers. There are two ways of doing this. One way is to roll some fondant into a ball, flatten the ball and prick holes all around it using a toothpick. The second method is to use a button mold to mold the centers as I have done here. Allow the centers to dry while you cut out the petals.
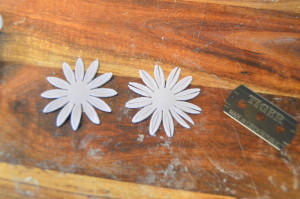
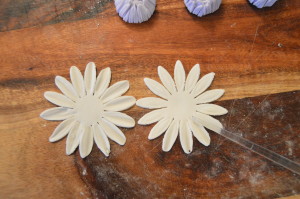
(3) Cutting out the petals. For a daisy in full bloom, you will need a total of 6 petals: 2 of each size. I however love to show my flowers are various stages of bloom. Thus, I use 2 of the smallest petals for a budding flower and 4 petals for smaller flowers in bloom. Roll out the fondant to be as thin as possible and cut out various petals of different sizes. Keep the petals sealed in the plastic container after cutting.
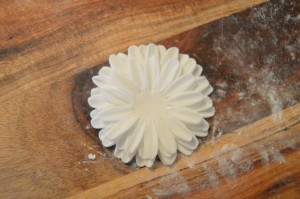
(4) Flower formation. You will work with 2 of the smallest petals for the first two rolls of petals. Using a blade or a sharp cutter, divide each petal into 2.
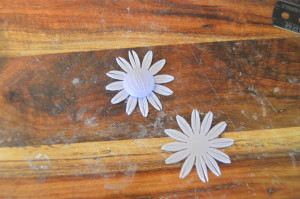
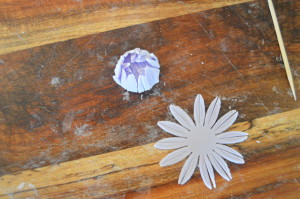
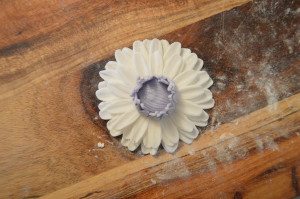
(5) Brush one of the petals with water, place the center of the flower in the middle of the petals and wrap the petals around the flower center. If you want to make a flower in full bloom, be sure not to fold the petals over the flower center. They should just border the center in an upright position. If however you want to make a young flower, fold the petals over the center.
(6) Repeat the above step with the next roll of petals. If you are making a budding flower, you can stop here. Allow the buds to dry and them move on to step 11
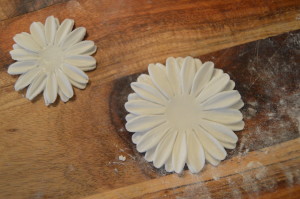
(7) Next, take out 4 petals, 2 each of the middle and large sizes. Using the sides of a small paint brush or any other elongated tool, make indents in each petal. This will flatten the petals and make them look more real.
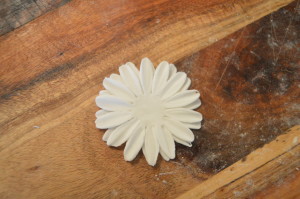
(8) Apply a little bit of water to the middle of each petal and stack them on each other, placing the largest petals at the bottom of the stack. If you are making smaller flowers, use only 2 of the middle petal sizes.
(9) Place the center of the flower in the middle of the stacked petals and transfer the flower to a flower mold.
(10) Using the end of your paint brush or any other tool of your choice, separate the petals and “fluff” them so the flower looks full. You might need to repeat this a second time after the flower has dried a little bit. Be careful not to break the petals in the process of fluffing.
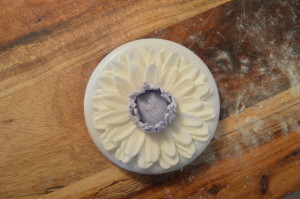
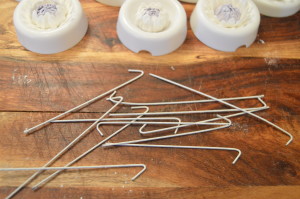
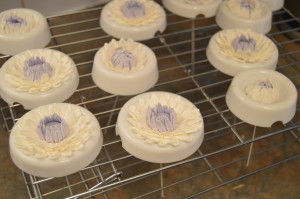
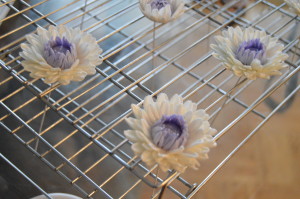
(11) Leave the petals to dry before brushing with color/pearl dust and steaming. If you intend to insert floral wires in the base of the flowers, allow them to dry for about 5 hours before doing so. To insert floral wires, cut wires into desired lengths and curve an end to form a partial hook. Lift the flower carefully from the mold and insert the curved end of the floral wire into the base of the flower. Pass the floral wire through the hole on the base of the flower drying mold and place the flower on an elevated cooling rack. If you are making use of apple crates or other improvised drying molds, be sure to create holes in them before using them.
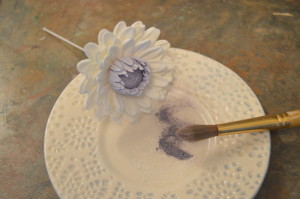
(12) After the flowers have dried properly, which takes about 24 – 36 hours, its time to brush them with color/pearl dust. If you have used different colors for your flowers, we sure to brush each part of the flower with the same color. If you used white fondant for the center of the flowers, brush the center with green color dust. The color/pearl dust will add depth of color to your flowers and make them look more life like.
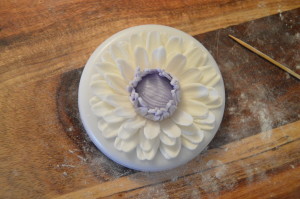
(13) After brushing your flowers with color, it is time to steam them. This can be done by holding the flowers upside down over a pot of boiling water or the opening of an electric kettle for about 4 seconds. Note that the water must be boiling and not just hot as what you need is the steam. Do not steam the flowers for more than the started time duration or they will get soft and break. You will immediately notice that the flowers will be glossy.
(14) Allow the flowers to dry for about an hour before using.

Well detailed tutorial..as usual..making me amateur get that I can do it spirit..
You are welcome. And, yes you can.
Terry these daisy are lush weldone.my question is are pearl dust same as lustre dust,and should they be used only when fondant is dry? Thanks
Thanks Bisi. Yes they are the same. The time of use depends on what you are doing. To brush flowers, the fondant must be dry or else it will leave patches of color on the fondant instead of a smooth brush of color.
I see thanks,I have tried to colour a wet fondant with lustre dust but it just went patchy giving other colours differently from d original. Thanks again I have ordered my rose cutters the first one that was delivered were way too small!! Lols
You are welcome.
Nice tutorial. Thanks.
You are welcome Aisha.
God bless you for this detailed tutorial, Terry. I’m learning so much from you.
Nice work. You are such a good teacher Terry, Thank you so much.
Thanks Chioma.