Rustic French Loaf
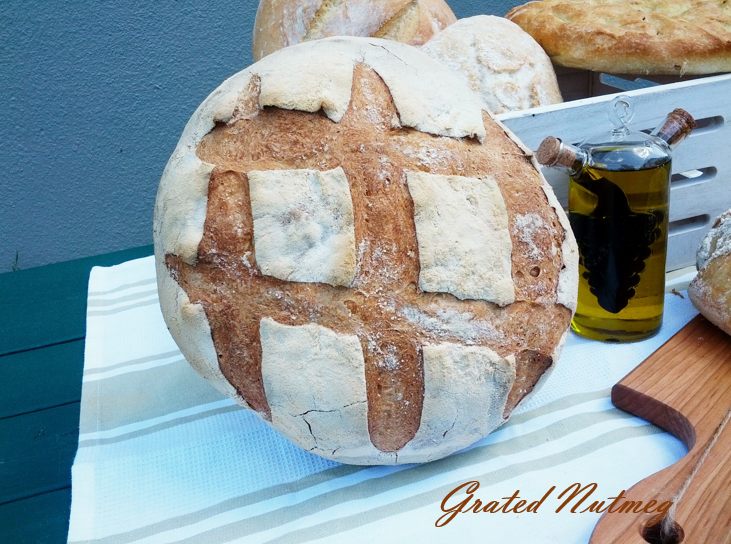
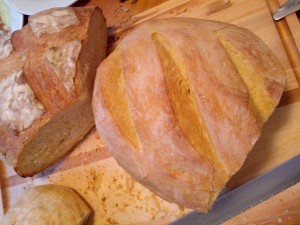
I took one bite of this loaf with some homemade butter and I was instantly taken back to an apartment I stayed in at Paris, France which was on top of an old fashioned boulangerie. I would go there every morning and evening to buy some fresh hot bread, pointing at the loaf I wanted with my little to no French. I dare say that this loaf is as good as some I bought there. It is very easy to make with little kneading needed. It however needs time, so be sure to do this on a weekend or a free day. Most of the time is waiting time so you can do other things while you wait for the yeast to do its magic. I got this recipe from Chef Bruno who is fast becoming my go-to guy for French breads.
INGREDIENTS:
(1) 420 ml Water (1.7 Cups)
(2) 300 Grams Bread Flour (A little over 2 cups)
(3) 300 Grams All Purpose Flour (A little over 2 cups)
(4) 1/2 Teaspoon Molasses
(5) 3 Grams yeast
(6) 13 Grams Salt
(7) Flour and Semolina for dusting
PROCEDURE:
(1) Put all your ingredients in a bowl, add the water and knead for 4 minutes. Yeah, that’s all the kneading it needs. The dough will still be a bit shaggy, but that’s fine.
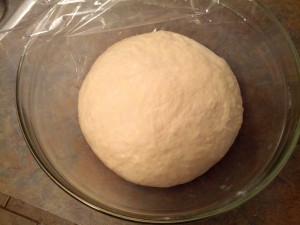
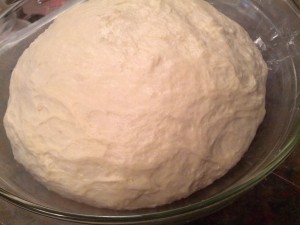
(2) Form the dough into a ball and place in a non-greased bowl, cover with plastic wrap, punch a couple of holes on the wrap and allow to rise at room temperature for 4 hours. At the end of each hour, you will deflate the dough, reshape into a ball and cover again. You will need to deflate the dough 3 times in all. You can moisten your hand with water to prevent the dough from sticking to it. As Bruno says, “good bread takes time” and I agree.
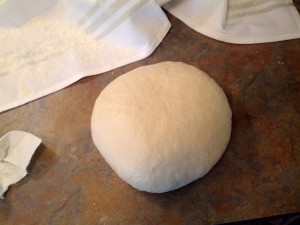
(3) After 4 hours, turn the dough on to your work surface without deflating it. Draw the edges of the dough to the center, turn dough over and shape into a tight ball by rotating the dough in a circular motion with cupped hands.
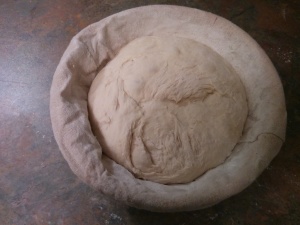
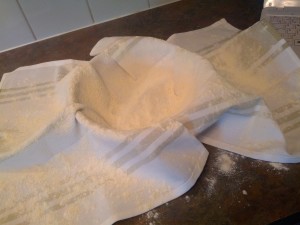
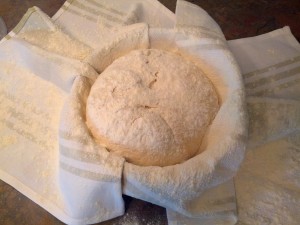
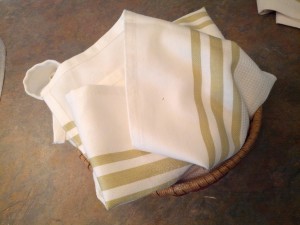
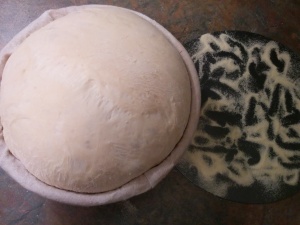
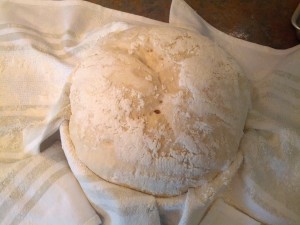
(4) Place the dough with the under side facing up in a banneton (bread basket), cover with a clean kitchen towel and allow it to rise for 1.5 hours (90 Minutes). If you do not have a banneton, simply line a round basket with a clean kitchen towel which has been heavily dusted with flour. Use the flour liberally as you do not want the bread to stick to the kitchen towel. You need to use a basket and towel for this second rise as the bread needs to breath while rising.
(5) 30 minutes before end of second rise, preheat oven to 500 degrees. Place a pizza stone in the oven or an upside down baking tray. Place another smaller baking tray or baking pan on the bottom of the oven. Ice cubes will be placed here which will provide the steam needed to give this bread its fantastic crust and volume.
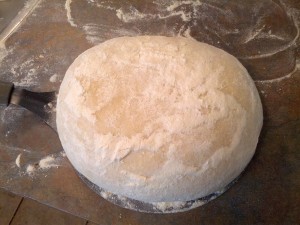
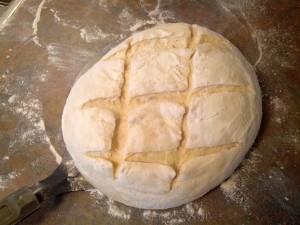
(6) Once risen, un-mold dough on an upside down baking tray or bread peel sprinkled with some semolina. Slash bread with blade or sharp knife and transfer to hot pizza stone or upside down baking tray. Immediately place a few ice cubes on the lower baking tray and close the oven door immediately.
(6) Bake bread in preheated oven for 15 minutes at 500 degrees. After 15 minutes, reduce oven temperature to 450 degrees and bake for another 30 minutes. After 30 minutes, turn off oven, crack the oven door open and leave bread in there for another 10 minutes. Total baking time is 55 minutes.
The steps might look tedious, but they really are not. And the result, OMG. Allow the bread to cool before slicing. Do try this out with some good homemade butter (Procedure here)
Don’t forget to like Grated Nutmeg on Facebook for new bread and other recipes as they come up. Just click on the like button below.


*sad* My kitchen isn’t equipped with all the Necessary utensils but lord knows i’ve saved this Page on my device and Back Up device..
Awwwww. Sorry to hear that. But really, aside from the basket, this bread needs very little specialized utensils.