Baby Cot Cake
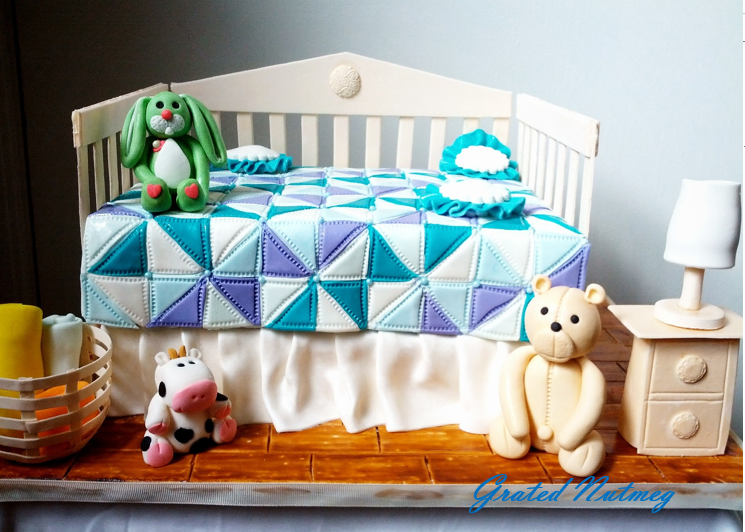
There are times when I make cakes and can’t help but stand back and give a nod of approval. This was one of those times, A friend called me on a Tuesday and requested for a baby shower cake for that weekend. She asked for a cot cake and told me to figure out the rest. I got to work and by Saturday, this baby was ready for pick up.
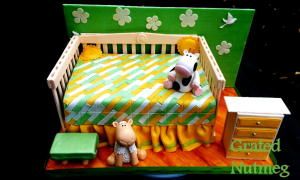
The cake beneath is a two tier French Vanilla Sponge Cake with vanilla buttercream frosting. All the decor was made with Marshmallow Fondant. I am truly amazed by how workable MM Fondant is. There is almost nothing you cannot do with it.
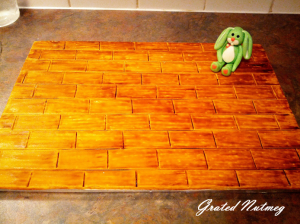
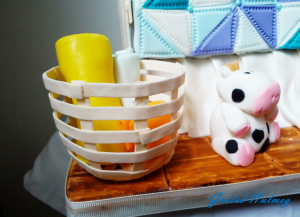
I started preparing for this cake by making the cake board which was to serve as the bedroom floor. I painted it to look like wooden tiles. A tutorial for how to achieve this can be found here.
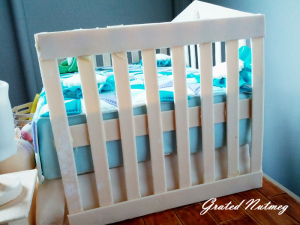
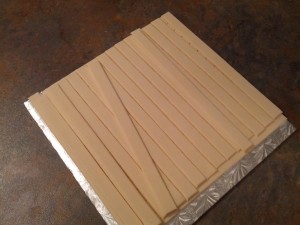
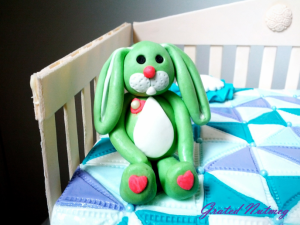
Next, I made the bed frames. I painted my fondant ivory, rolled and cut it into thin planks and allowed the planks to dry for a couple of days before assembling them. They were assembled using melted white chocolate as the gluing agent. I have a tutorial on how to make these here.
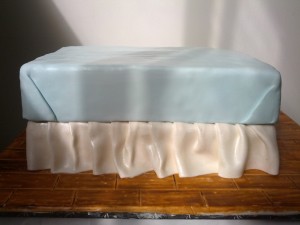
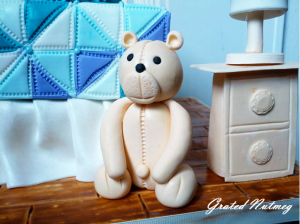
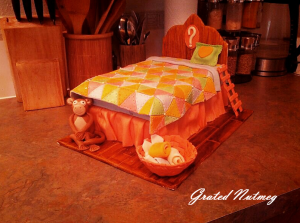
There are a few highlights of this cake I would like to draw attention to. The first is the bed skirt which I made by draping fondant. I finished it with some white pearl dust to make it look like satin. The bed skirt covers the bottom cake layer. As you can see, the bed itself is well laid as I waned to seal in the buttercream frosting and ensure the job was neat.
The next is the basket with some laundry at the left side of the cot. This was made my wrapping a bowl with fondant and allowing it to dry over night. I chose to fill it up with some wrapped fondant to serve as laundry.
This cake also has 3 fondant animals: a bunny, a very cute calf and a teddy bear. Tutorial for the teddy can be found here. Tutorial for the bunny can be found here. Tutorial for the calf can be found here. You can check out some of my animal tutorials here.
On the left side of the cot is a night stand and a table lamp. These were also made with fondant. I chose to make them the same color as the bed frame.
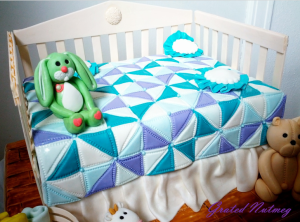
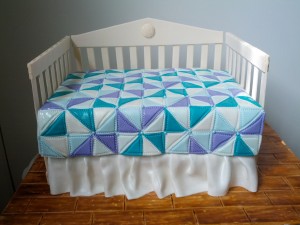
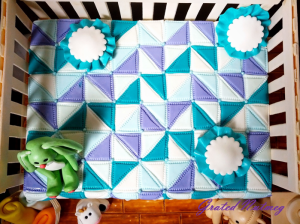
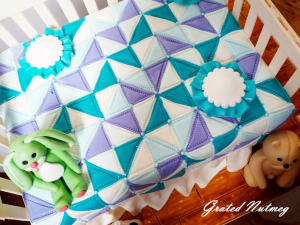
By far, the best part of this cake is the quilted duvet. It is made up of 5 colors: white, purple and 3 shades of blue. A shade of blue is so light that it shows up as white in the picture. each piece of the duvet was randomly placed on it to give the finishing effect and then individually tacked on the edges to give the quilted look. Finally, pearls were placed at strategic locations. This is the second time I was using this technique which I developed about a year ago. It takes a lot of work and patience and must be done quickly so the fondant does dry out before being placed on the cake. The end however does justify the means.
Finally, I threw in some fondant pillows on the bed to complete the look.
Needless to say that I had a lot of fun with this project.
This baby cot cake has given rise to a couple of other cakes which can be found here.
Don’t forget to like Grated Nutmeg on Facebook. Just click on the like button below.


I stand in awe of your work. And like i said on facebook,english language has failed me this time around. потрясающе!!!!!
🙂 Thanks Ifueko.
This is amazing.Brilliant Terry.
Thank you Rasheedah.
Another amazing project. Keep it up Terry.
Thank you Naomi.
This is beautiful TA!Regarding the Duvet, did u 1st cover the whole cake in white b4 using those colours or how did u achieve this? The pillows too,which cutter did you use for the white round part! God bless U!
Thanks Mabel. For the duvet, as you can see, the bed is covered with blue fondant first. The duvet is made on its own and then transferred to the bed. I first of all cut white fondant the size of the duvet and then stick the various trangles on it. For the pillows, I have a cutter that looks exactly like the shape of the pillows.I cut out 2 pieces for each pillow, placed the ruffles on one and sealed it with the other.
am helplessly in love with this work….
Thanks Oby
wonderful n amazing, great work,keep it up.
Thank you Loveth.
Wow terry u re just wonderfully talented,pls are u in Nigeria so u can give me some tutorials,,
Thanks. No, I am based in canada at the moment.
You make me want to learn how to bake.
You should. It is easy.
Jaws down,simple awesome
Thank you Yetunde.
i have a question terry…do you vary the consistency or would i say thickness of the mm fondant? For instance to get the cot bars to be stiff or is it of the same thickness as the sheets….
The bars are a bit firmer. I however do not have a measurement. I just keep adding icing sugar as I knead. This however is totally for my own comfort as you can equally use the same consistency as that which you use to cover the cake. it will still get dried.
I had fun reading about d cake alone. I can imagin how much mor fun u had makin it. Nice, i lov it.
Thanks Gloria. Yes I did have a lot of fun making it.
I alwyz cme on line to appreciate God by seein d gud wrks He uses u to do.its wndfl nd amazing,keep d flag flying.
Thanks Jane
Wow!!! I duff my hat. Your creativity is God giving .
Thanks Ladun
Beautiful! Awesome creative work,thumbs up
Thanks Tosin
Wow!!! #thumbs up
Thanks Ella
Terry this is amazing, very soon me and you will negotiate on how u will make two of this baby boy cot and a baby girl cot cakes and shipped to me in London. Well done Terry.
3 cakes? excited much. Thanks Dami
okay…thanks.
Here we go with perfect explanation on how to get it done! I respect your act of giving and your selfless spirit,Am learning so much from you! Thanks Terry!!
You are welcome Comfort
Nw I can say without any doubt in my mind dat ur one of my top cake rolemodel…thanks for allowing us to share in ur talent…I think I wld b trying this for my son’s dedication in June…so in love with ur work…thanks again
Thanks Jeniffer.
Terry, you are such a wonderful, brillantand gifted guy, keep it up,GOD BLESS YOU.
Thanks Pat.