How to Make Fondant Stone Bricks

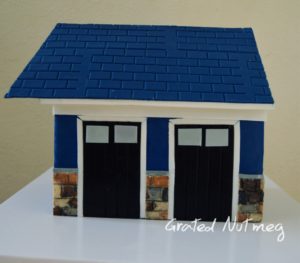
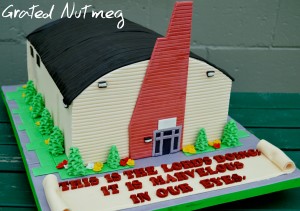
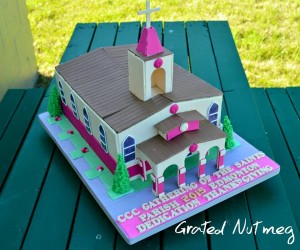
This post illustrates how to make fondant stone bricks. These stone bricks can be used for building or construction themed cakes like the house cake above. The process is very straightforward and easy to execute.
TOOLS:
(1) Rolling Pin
(2) Blade/ X-Acto Knife/ Fondant Cutter
(3) Foil Paper
(4) Paint Brush
(5) Ruler
(6) Fondant Wheel/Embosser
(7) Any Fondant Tool with a Pointed Tip
EDIBLE COMPONENTS:
(1) Fondant
(2) Vodka or Edible Spirit
(3) Food Colors (Black. Brown, Ivory, Copper)
(4) Color Dusts (Black, Silver)
THE PROCESS:
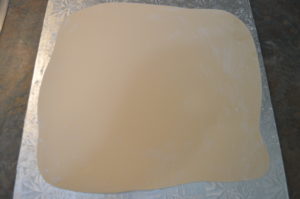
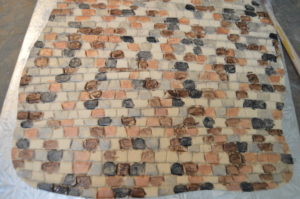
(1) Color fondant ivory and roll it out into a square of about a quarter centimeter thickness (5 mm).
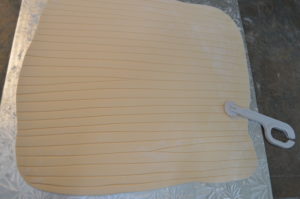
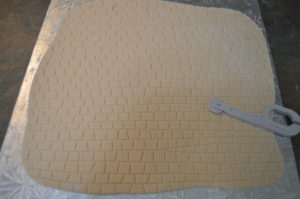
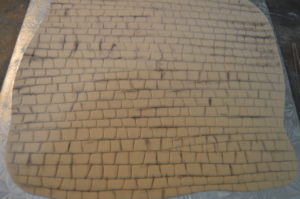
(2) Using a fondant wheel, make horizontal lines on the fondant. The lines should be made “free hand” and irregular.
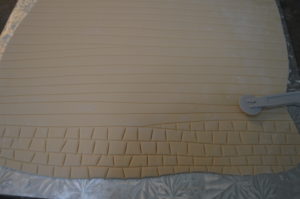
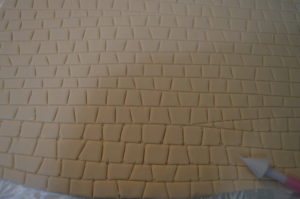
(3) Using the same fondant wheel, make vertical lines between the horizontal lines. The lines in each row should be staggered for the bricks look.
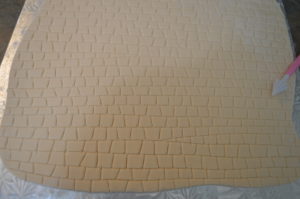
(4) Using the pointed tool, blunt out the angles of each brick to give them a bit of a rough look.
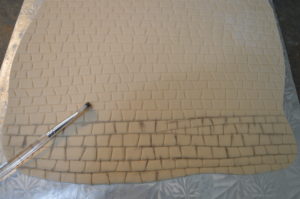
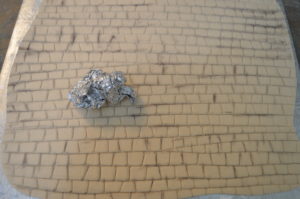
(5) Using a pointed brush and black color dust, dust the grooves around the bricks to give them dept and make them pop out.
(6) Use scrunched up foil paper to make the surface of the fondant rough by pressing it against the fondant.
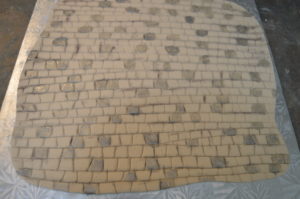
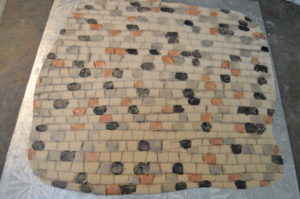
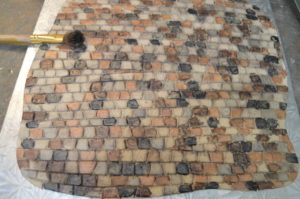
(7) Beginning with lighter colors, brush individual bricks with various colors. Try to spread out each color as much as possible so bricks close to each other do not have the same color. I used brown, silver, copper, grey and black colors here. Use a combination of color pastes and dusts to achieve the various colors as needed. Dilute the colors with vodka or edible spirit before using.
(8) Using a dry blush brush dabbed in black and silver color dusts, make sweeping strokes on the fondant. This will blend out the various colors, add dept to the bricks and give them a glossy finish.
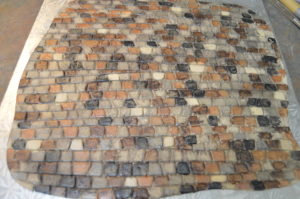
(9) Deep a clean brush in vodka and clean the colors on some of the bricks to restore them back to ivory color.
(10) Leave the fondant to dry a bit. Using a ruler and a fondant cutter of your choice, cut out the bricks into desired shapes and design the cake with it. The cake should already be covered with a layer of fondant. The bricks should be stuck to the first fondant layer using vodka or a sticking agent of your choice.
That’s all there is to it. Happy caking!
BONUS TUTORIAL:
If you want to have an idea of how I make my house or building cakes, please click on the links below.
(1) The Making of a Church Building with Domed Roof Cake
(2) The Making of a Pink and Cream Church Building Cake


Thanks Terry👍👍👍👍
You are welcome Tee.
God bless you for this Terry.
Thanks Janet.
Nice one boss, may God continually bless u for sharing Ur knowledge @ NO COST. Keep to the good work sir
Thanks Cisca.
God bless you real good
Thanks.
it’s really easy but at sight looks complicated. thanks boss.
You are welcome Sephora.
Thank you so much
You are welcome.
Thank you, you’re the best
Thanks.
Nice one sir.thank you so much
You are welcome Mimi.
Thanks so much sir.
You are welcome Miracle.
Pleasure meeting you after the uncut learning programme. God bless and appreciate you more.
It was great meeting you too.
Weldone boss. Thank you.
My pleasure.
Thank you Sir.May God bless you for sharing this.
You are welcome Aboyowa.
God bless you real good.
Thanks.
Thanks you so much Terry for this well explanatory tutorials. Could you please post the crackled design tutorial you taught at the uncut learning here please…. I think I am missing something out in the making.
You are welcome. Maybe someday I would.
Thanks boss
God bless you
Thanks Nike.
Thanks for sharing this information Happy New Year To You And Family Now And Throughout The New Year Amen In Jesus Name Amen