The Making of a Star Ankara Cake
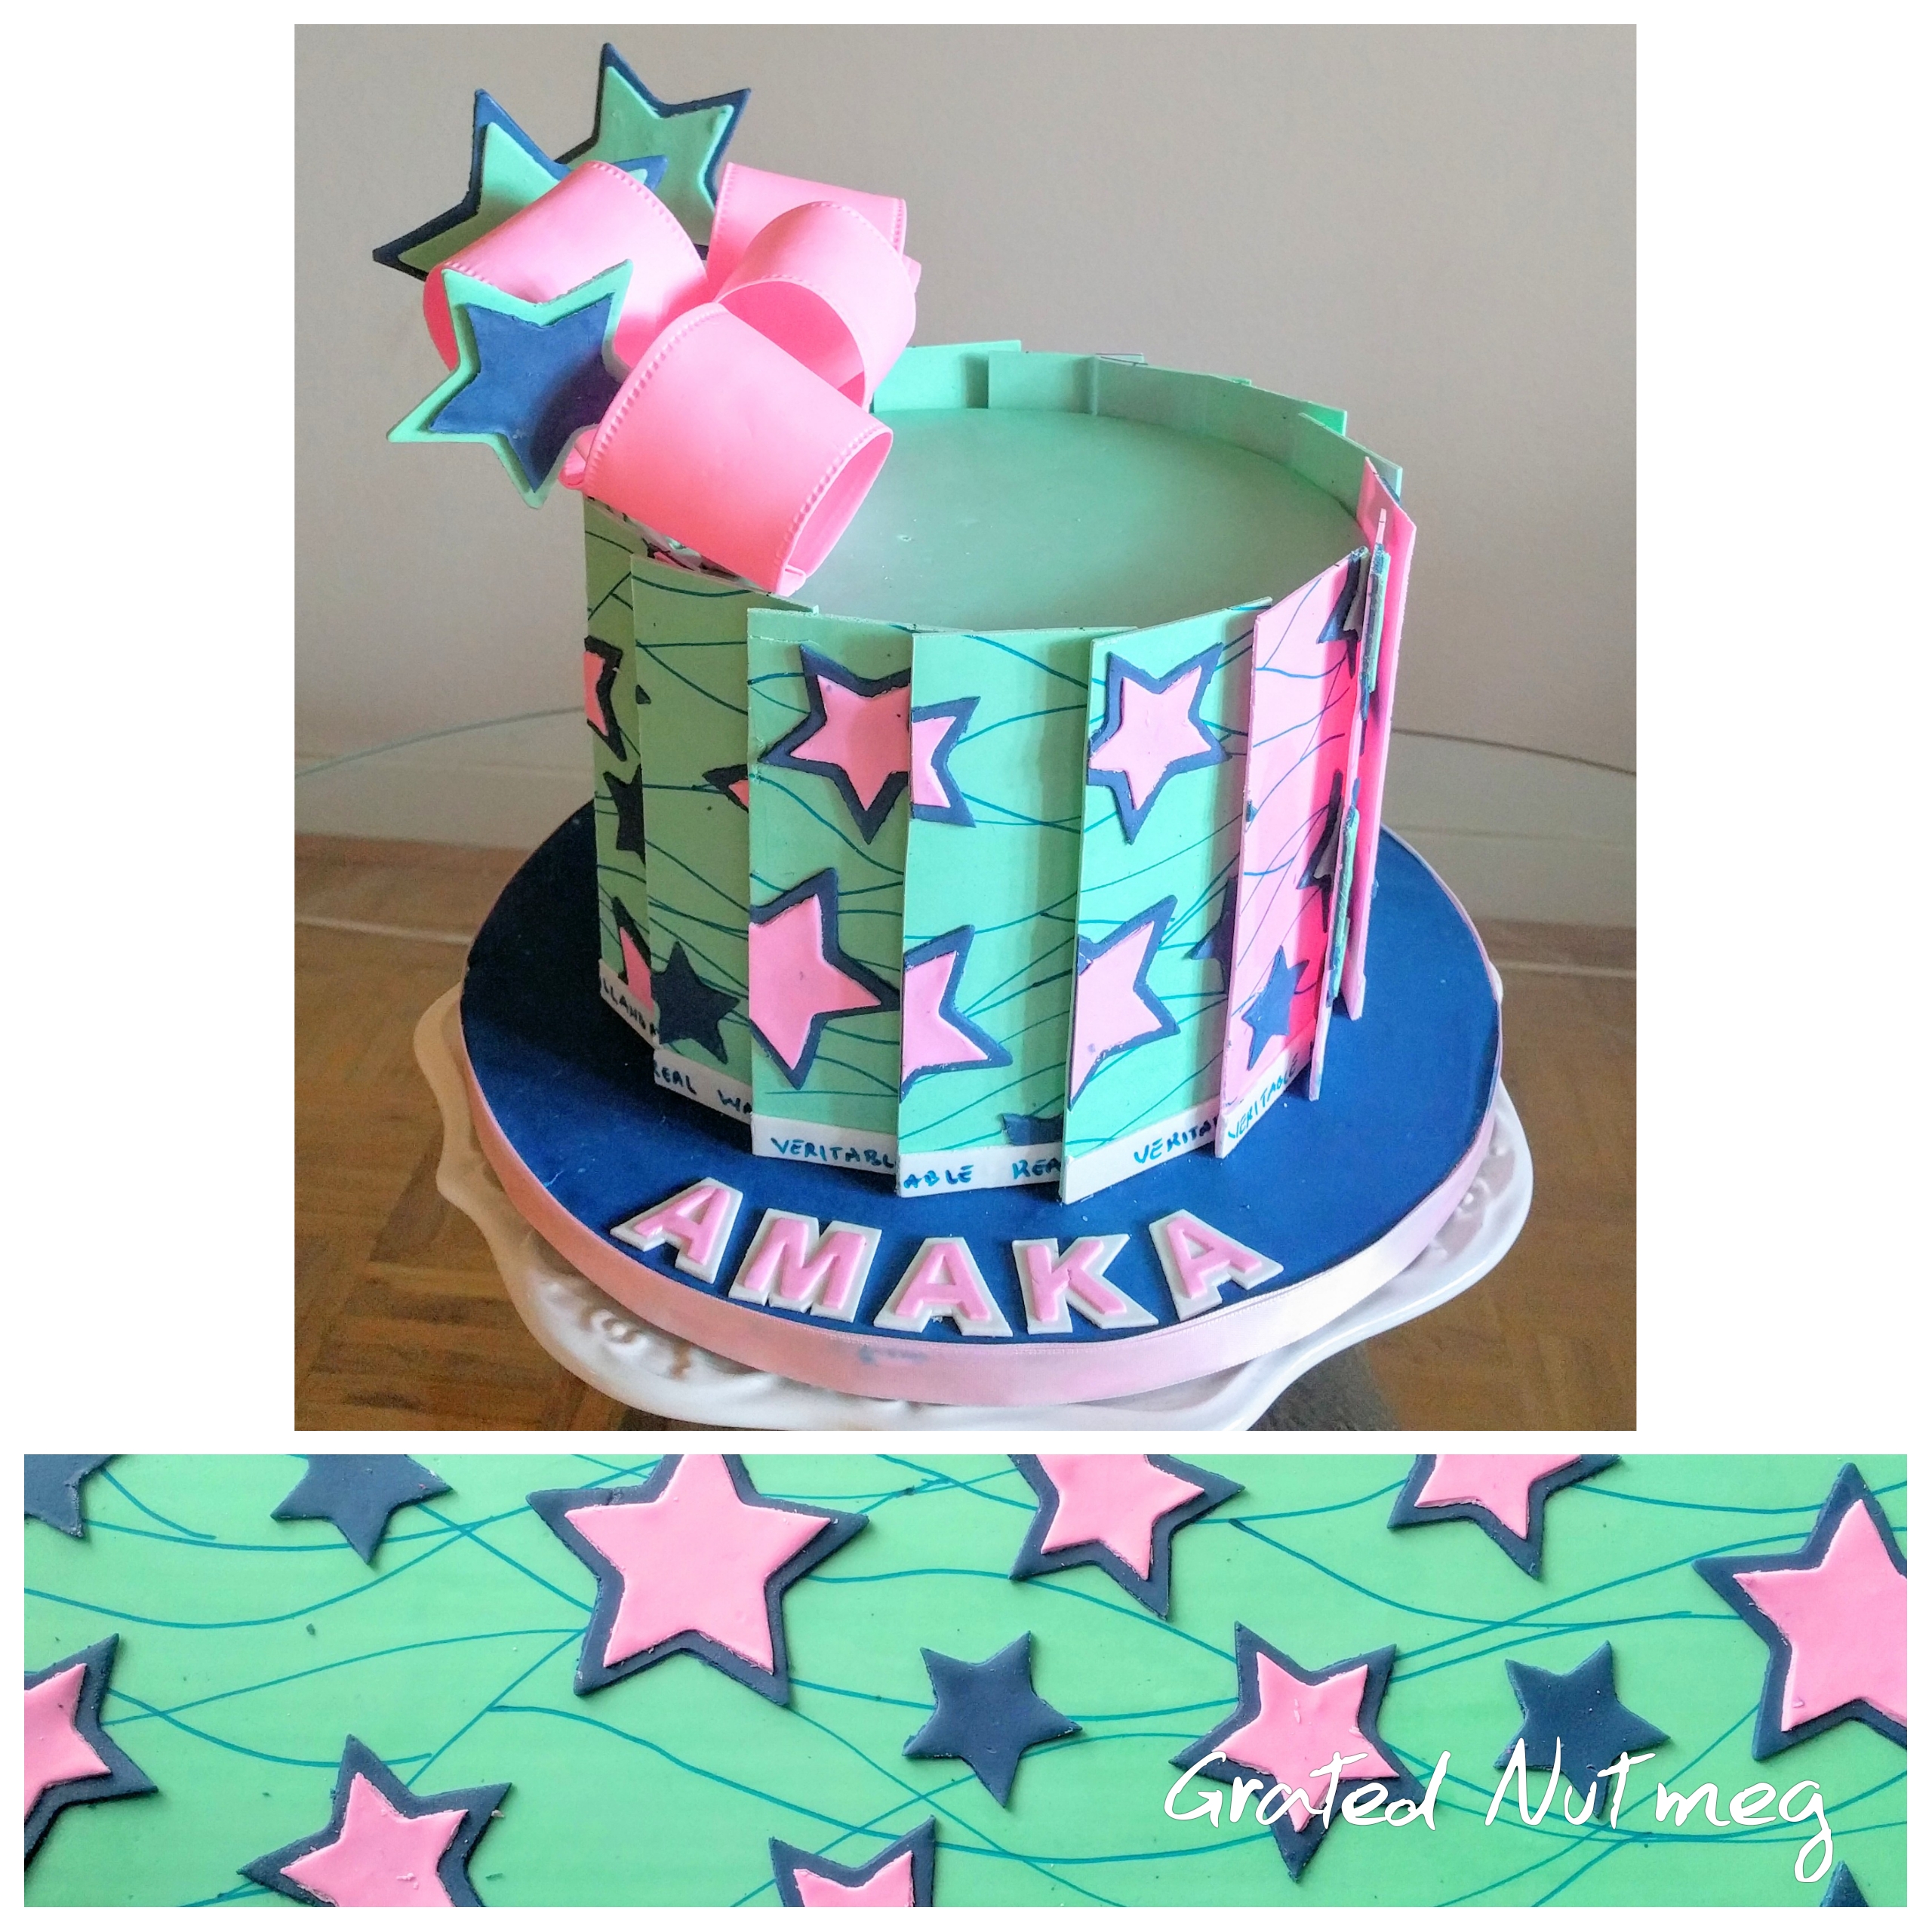
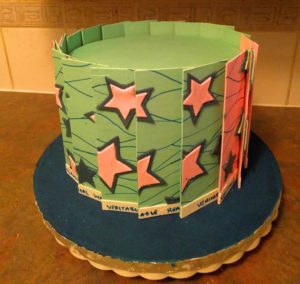
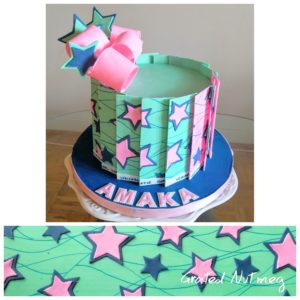
This is a tutorial on how to make the star Ankara cake above. Ankara is a fabric common in many countries in Africa. The Star Ankara print is very popular in Nigeria and comes in a variety of colors. This cake celebrates this fabric and uses both soft and dry fondant panels to arrive at the design. Below, I will be taking you through the process of recreating this cake step by step.
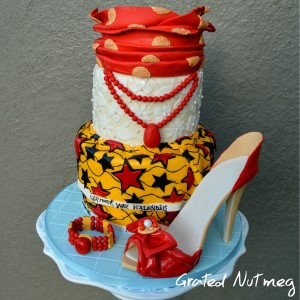
Before beginning this tutorial, the situation might arise where you would need to make this Ankara design on soft or draped fondant as opposed to dry fondant panels. The tutorial on how I made the Dressed Igbo Woman Cake (Link here) below explains how to achieve this design using a method suitable for soft or draped fondant.
THE PROCESS:
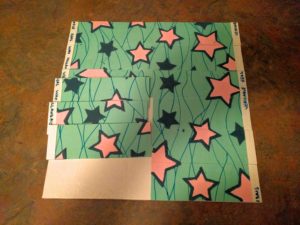
(1) First, make the dry fondant panels for the side of the cake. I used a total of sixteen 2 x 6 inches panels to cover the sides of this 8 inch cake. I have a very detailed tutorial here on how to make dry fondant panels. Please go through that tutorial to better understand the process here.
i. Roll out fondant into a large rectangle. The rectangle here measures 16 x 12 inches. It is best to roll out the fondant and leave it for about an hour to dry a bit before cutting it into the rectangle with a sharp blade. This will give you straight even sides.
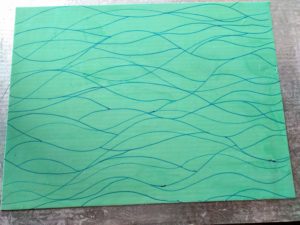
ii. Using an edible dark marker (I used dark blue here), draw horizontal wavy lines on the fondant. If you do not have access to edible markers, use color paste and make the lines using a thin pointed brush.
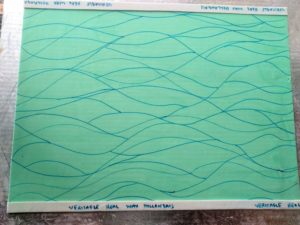
iii. Cut two long and thin strips of white fondant and stick them to the top and bottom of the rectangle. Use edible marker or color paste to write the brand of the Ankara on the white fondant strips.
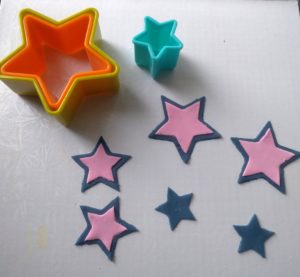
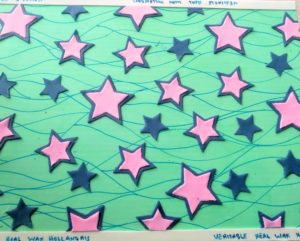
iv. Roll out pink and dark blue fondant (really, any color of fondant depending on the color of star Ankara you are making) and cut them into stars using star cutters. You will need 4 to 5 different sizes of star cutters for this task. While the smaller dark stars are used alone,each pink star is stuck to a larger dark star to form a single star. You will need 2 sizes of the pink stars for this design. Stick the stars randomly to the rectangle fondant panel.
v. Using a sharp blade, divide the large rectangle panel into 16 smaller panels. Each panel should measure 6 inch x 2 inch. To achieve this, first divide the rectangle into two rectangles measuring 16 x 6 inches. Then divide each rectangle into 8 equal parts. I cannot over emphasize the importance of using a ruler and a sharp blade to carry out this division. Leave the fondant panels to dry for at least a day before using.
You would notice that I also have a few ankara panels with pink background and teal stars. This was done to enhance the design of the cake. To make these pink panels, follow all the steps above but to a smaller scale.
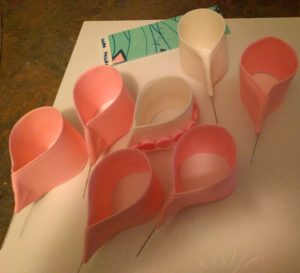
(2) Make the toppers. The toppers here consist of fondant stars stuck to candy sticks and fondant loops. I have a tutorial here on how to make fondant loop bows. Use that same tutorial to make the loops but make them bigger.
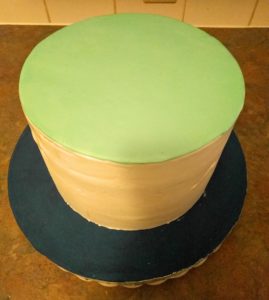
(3) Next, bring it all together. While draping the cake first in white fondant is optional, I prefer to do this to seal in the cake before I begin designing. Covering the cake first in fondant will also give you a good surface to stick the panels on using melted white chocolate or royal icing. After draping the cake with fondant, cover the top of the cake with teal fondant. Also stick the cake to your prepared cake board.
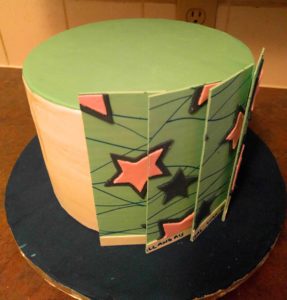
(4) Begin sticking the panels to the sides of the cake, overlapping them by half an inch. Do this until you have completely covered the sides of the cake.
(5) Finish the cake by inserting the toppers, writing the message and covering the sides of the board with a ribbon.
That’s all there is to it. Happy caking!


Thanks so much sir,u are indeed a great man
Thanks Doyin.
Thanks for sharing this .may God continue to increase your knowledge ,you are one in a million.you are bless👏👏👏
Thanks Princess.
Wow. This is Beautiful.
Thanks Barbara.
God has blessed you already….. very grateful for all this
Thanks Julie.
Wow,amazing. Your work is always perfect and I love every part of your jobs.u re great.
Thanks Margaret.
U are great sir God bless your hand work.
Thanks Patience.
I’m always impress with your detailed explanation on each tutorial. Well done
Thanks Bose.
Woah thanks for sharing may God continue to bless the works of your hands.
Thanks Jennifer
Dis is lovely, may God continue to bless and increase ur knowledge IJN.
Thanks Dammy.
Mng. Sir,beautiful cake.U. R.A. Genius
Thanks Joy.
Thanks a great deal, for teaching this free of charge. May God grant you more wisdom and bless you richly
Thanks Modeline.
Tanks a lot for this, I soo much appreciate this,pls do u train ,I ll love to learn under a great tutor like u sir.
Thanks and no.
please you are too good how can I get to know u and get to work with u.I live in AkwaIbom, Nigeria
Thanks. I am based in Canada.
Great idea thanks for sharing
You are welcome Reefat.
God bless you u r such a wonderful.
Thanks Titi.
Wow!this is wonderful
Thanks Priscilla.
Awwwww. Thank u so so much Terry. God bless u richly.
You are welcome Tonia.
Thanks very much for sharing this.you are a leader.
Thanks Shade.
Hello name sake 🙂 thanks for d awesome tutorial.
You are welcome Terry.
Waoo thanks so you did this with fondant i must try this weekend God ll richly bless.
Thanks Vivacous.
Ur tutorial is helpful. Thanks alot
You are welcome Meg.
Terry you are the bomb, I’m trying this out and will post it for you to see. God bless you for this free training. You have a large heart.
Awesome Funmi.
Thank you sir for this wonderful tutorial, God bless you
Thanks Ufoma.
Thank you for all that you do. Thank you very much for sharing this. God bless you.
Thanks Seun.
Thank you very much for sharing this. God bless you.
Thanks Seun.
Thanks so much sir
You are welcome Esther.