The Making of a Dora The Explorer Tiered Cake
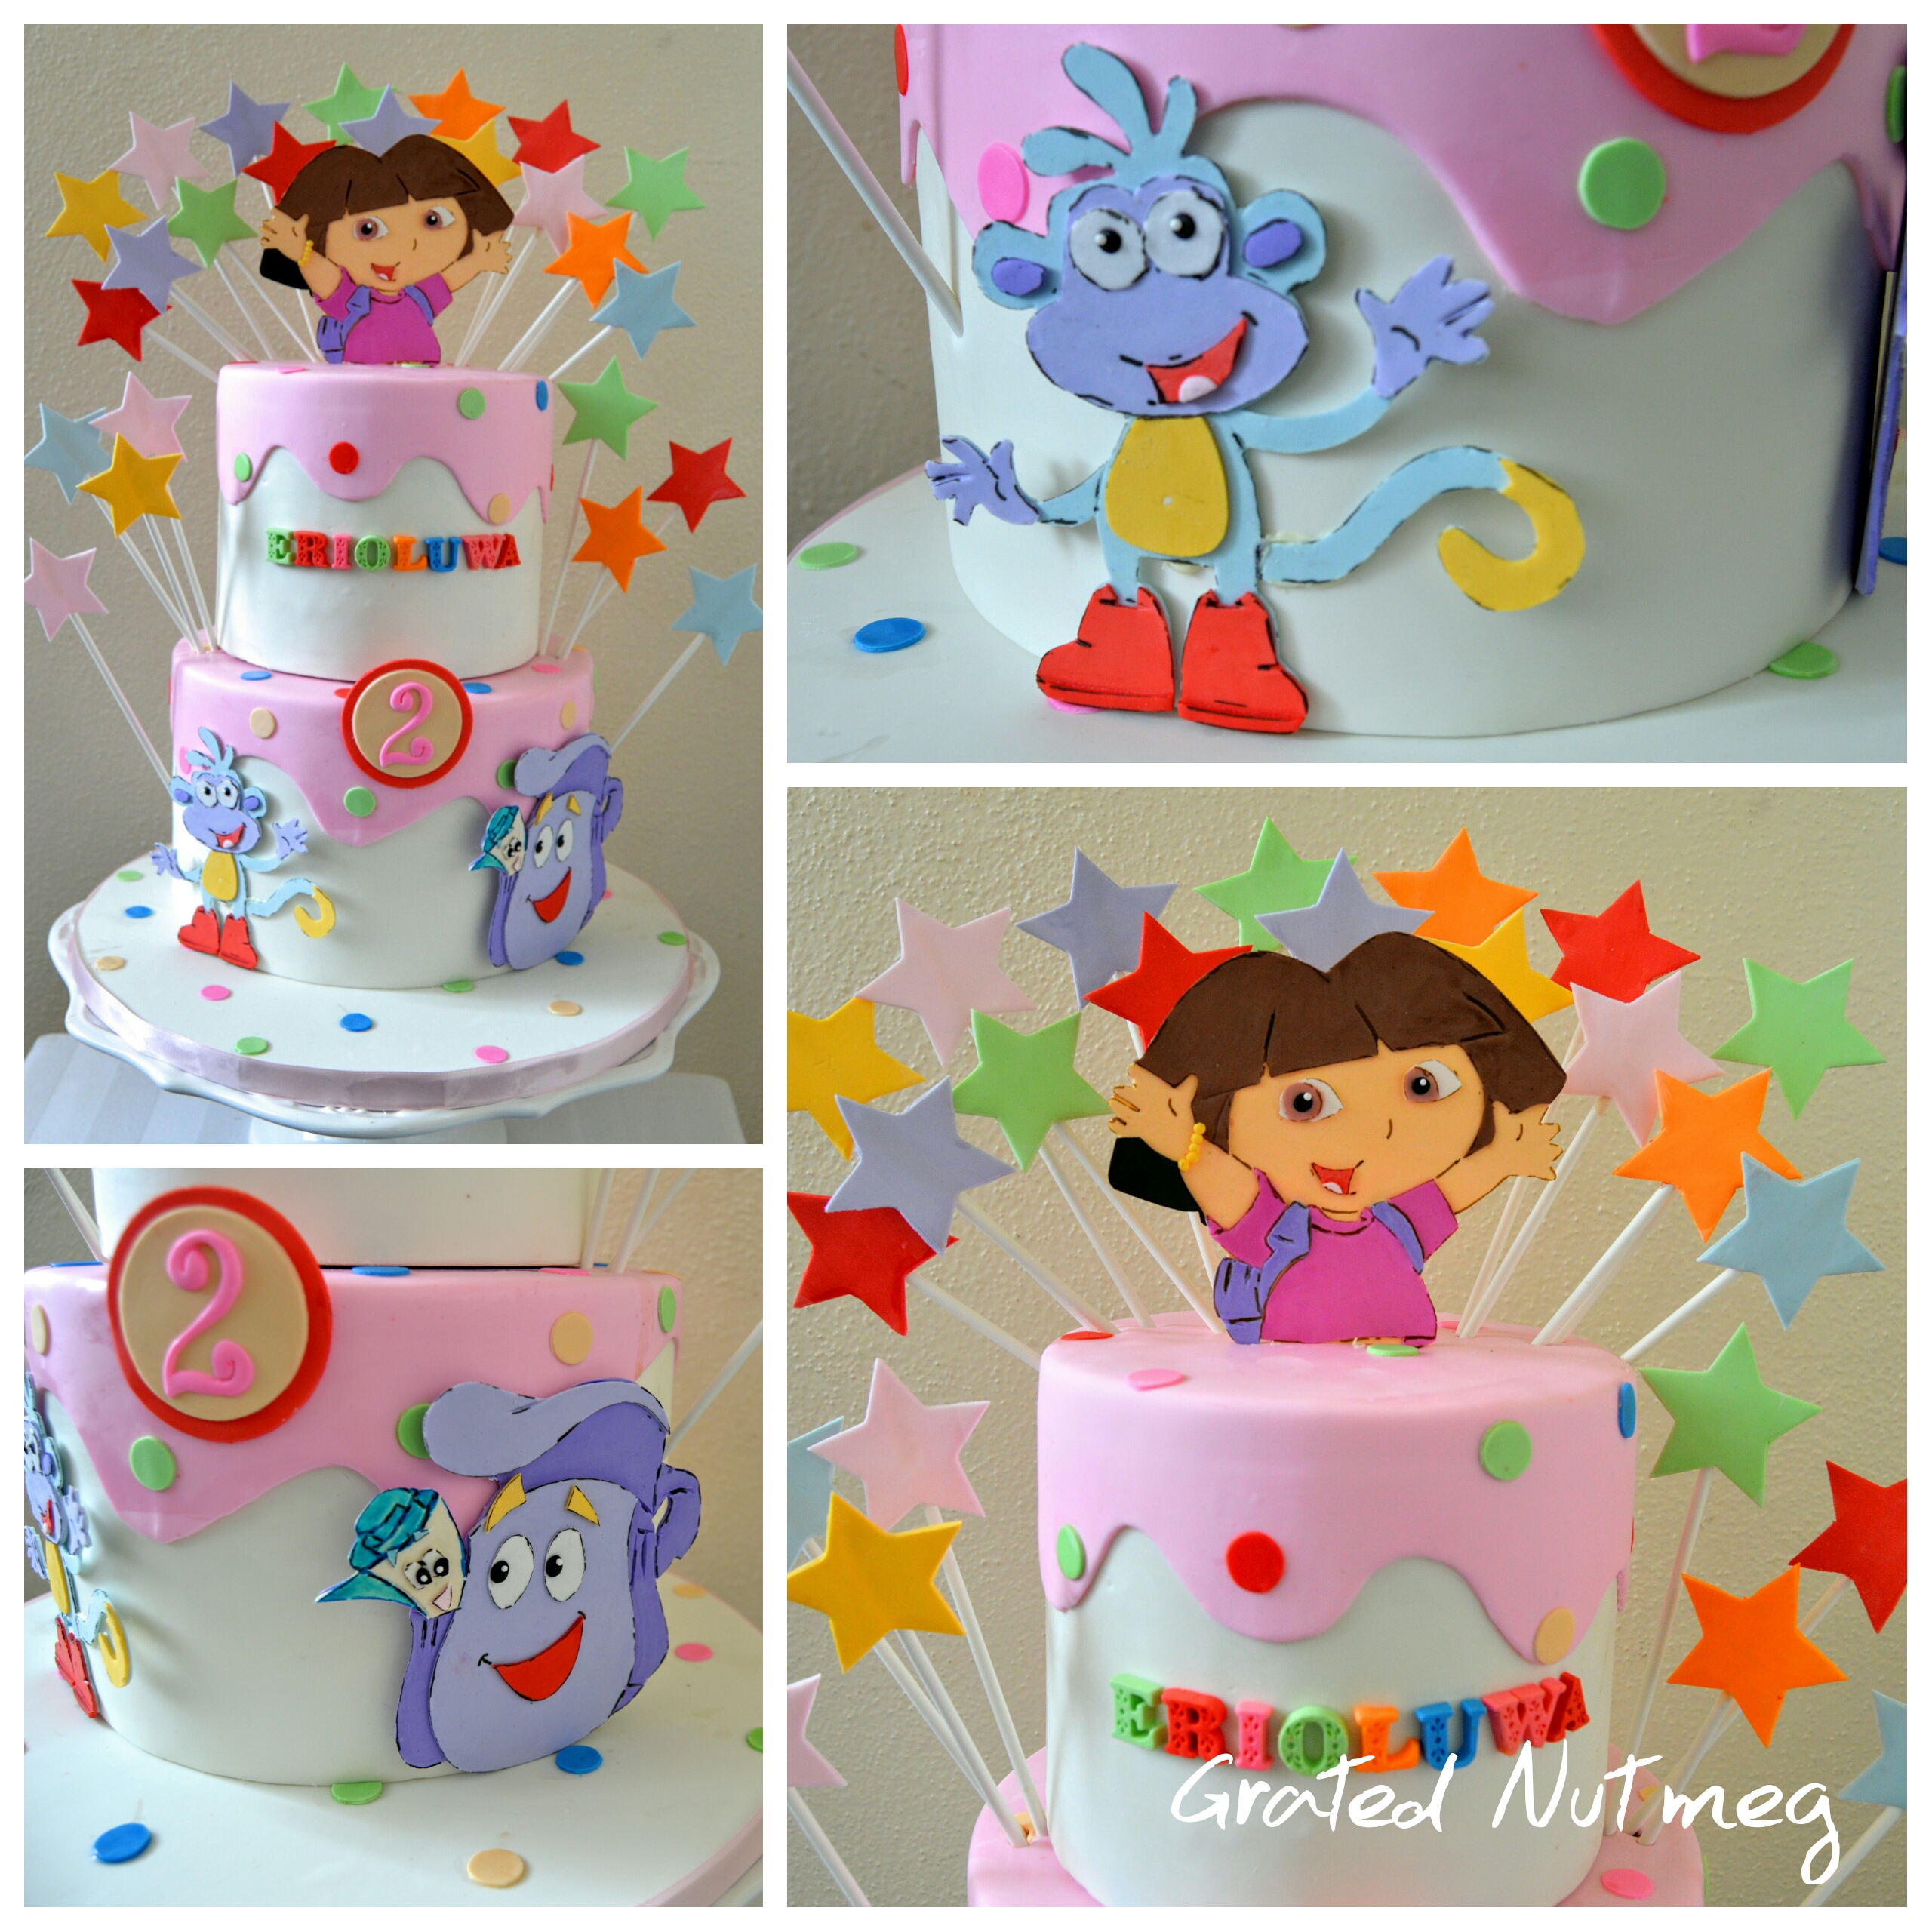
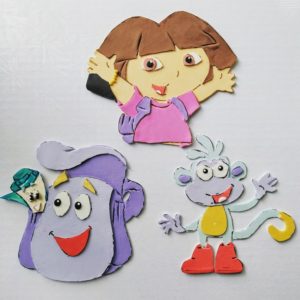
This is a tutorial on how the Dora the Explorer cake above was made. This cake is unbelievably easy to execute as the most time consuming part of the process is making the 2 D characters. This is going to be a short tutorial as there are tutorials which already cover the various stages of this design. I will provide links to those tutorials below.
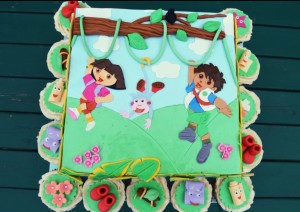
Below is another Dora the Explorer cake design. A tutorial on how to make the cake below can be found here.
THE PROCESS:
(1) First, make the various characters, stars, name and age tag. I have a very detailed post here on how to make 2D fondant characters. Also cut out the stars using star fondant or cookie cutters. Leave them to dry and stick lollipop sticks behind them using royal icing or melted white chocolate.
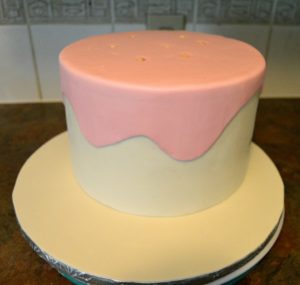
(2) Make the top and bottom tiers by wrapping them with white fondant and placing a pink overlay over them. I have a detailed post here on how to execute this design.
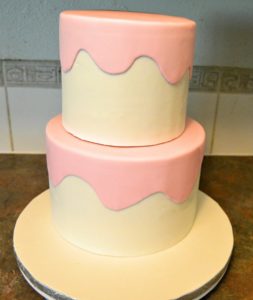
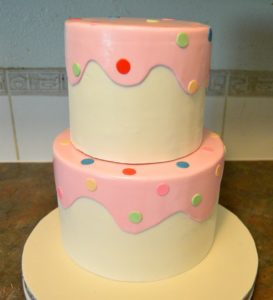
(3) Place dowels in the bottom tier and stack the top tier on it. Cut out small round fondant circles of various colors and stick on the pink fondant overlay and the cake board.
(4) Finish the design my sticking the 2D characters, stars, name and age tag on the cake. I used lollipop sticks to support Dora at the back.
That’s all there is to it. Happy caking!

Wow nice one terry
Thanks.
I luv d design will try it soon
Thanks. Give it a go!
Good job Terry.
Thanks Oluyomi.
Dear Terry tnx for this but please check the title. Is it a tired cake you meant or a tiered cake
Thanks Amaka. I fixed it.
This is beautiful. Keep the flay flying.
Thanks Chichi.
Good work. Ride on. Sir
Thanks.