How to Make Plaid Fondant Toppers and Add-Ons
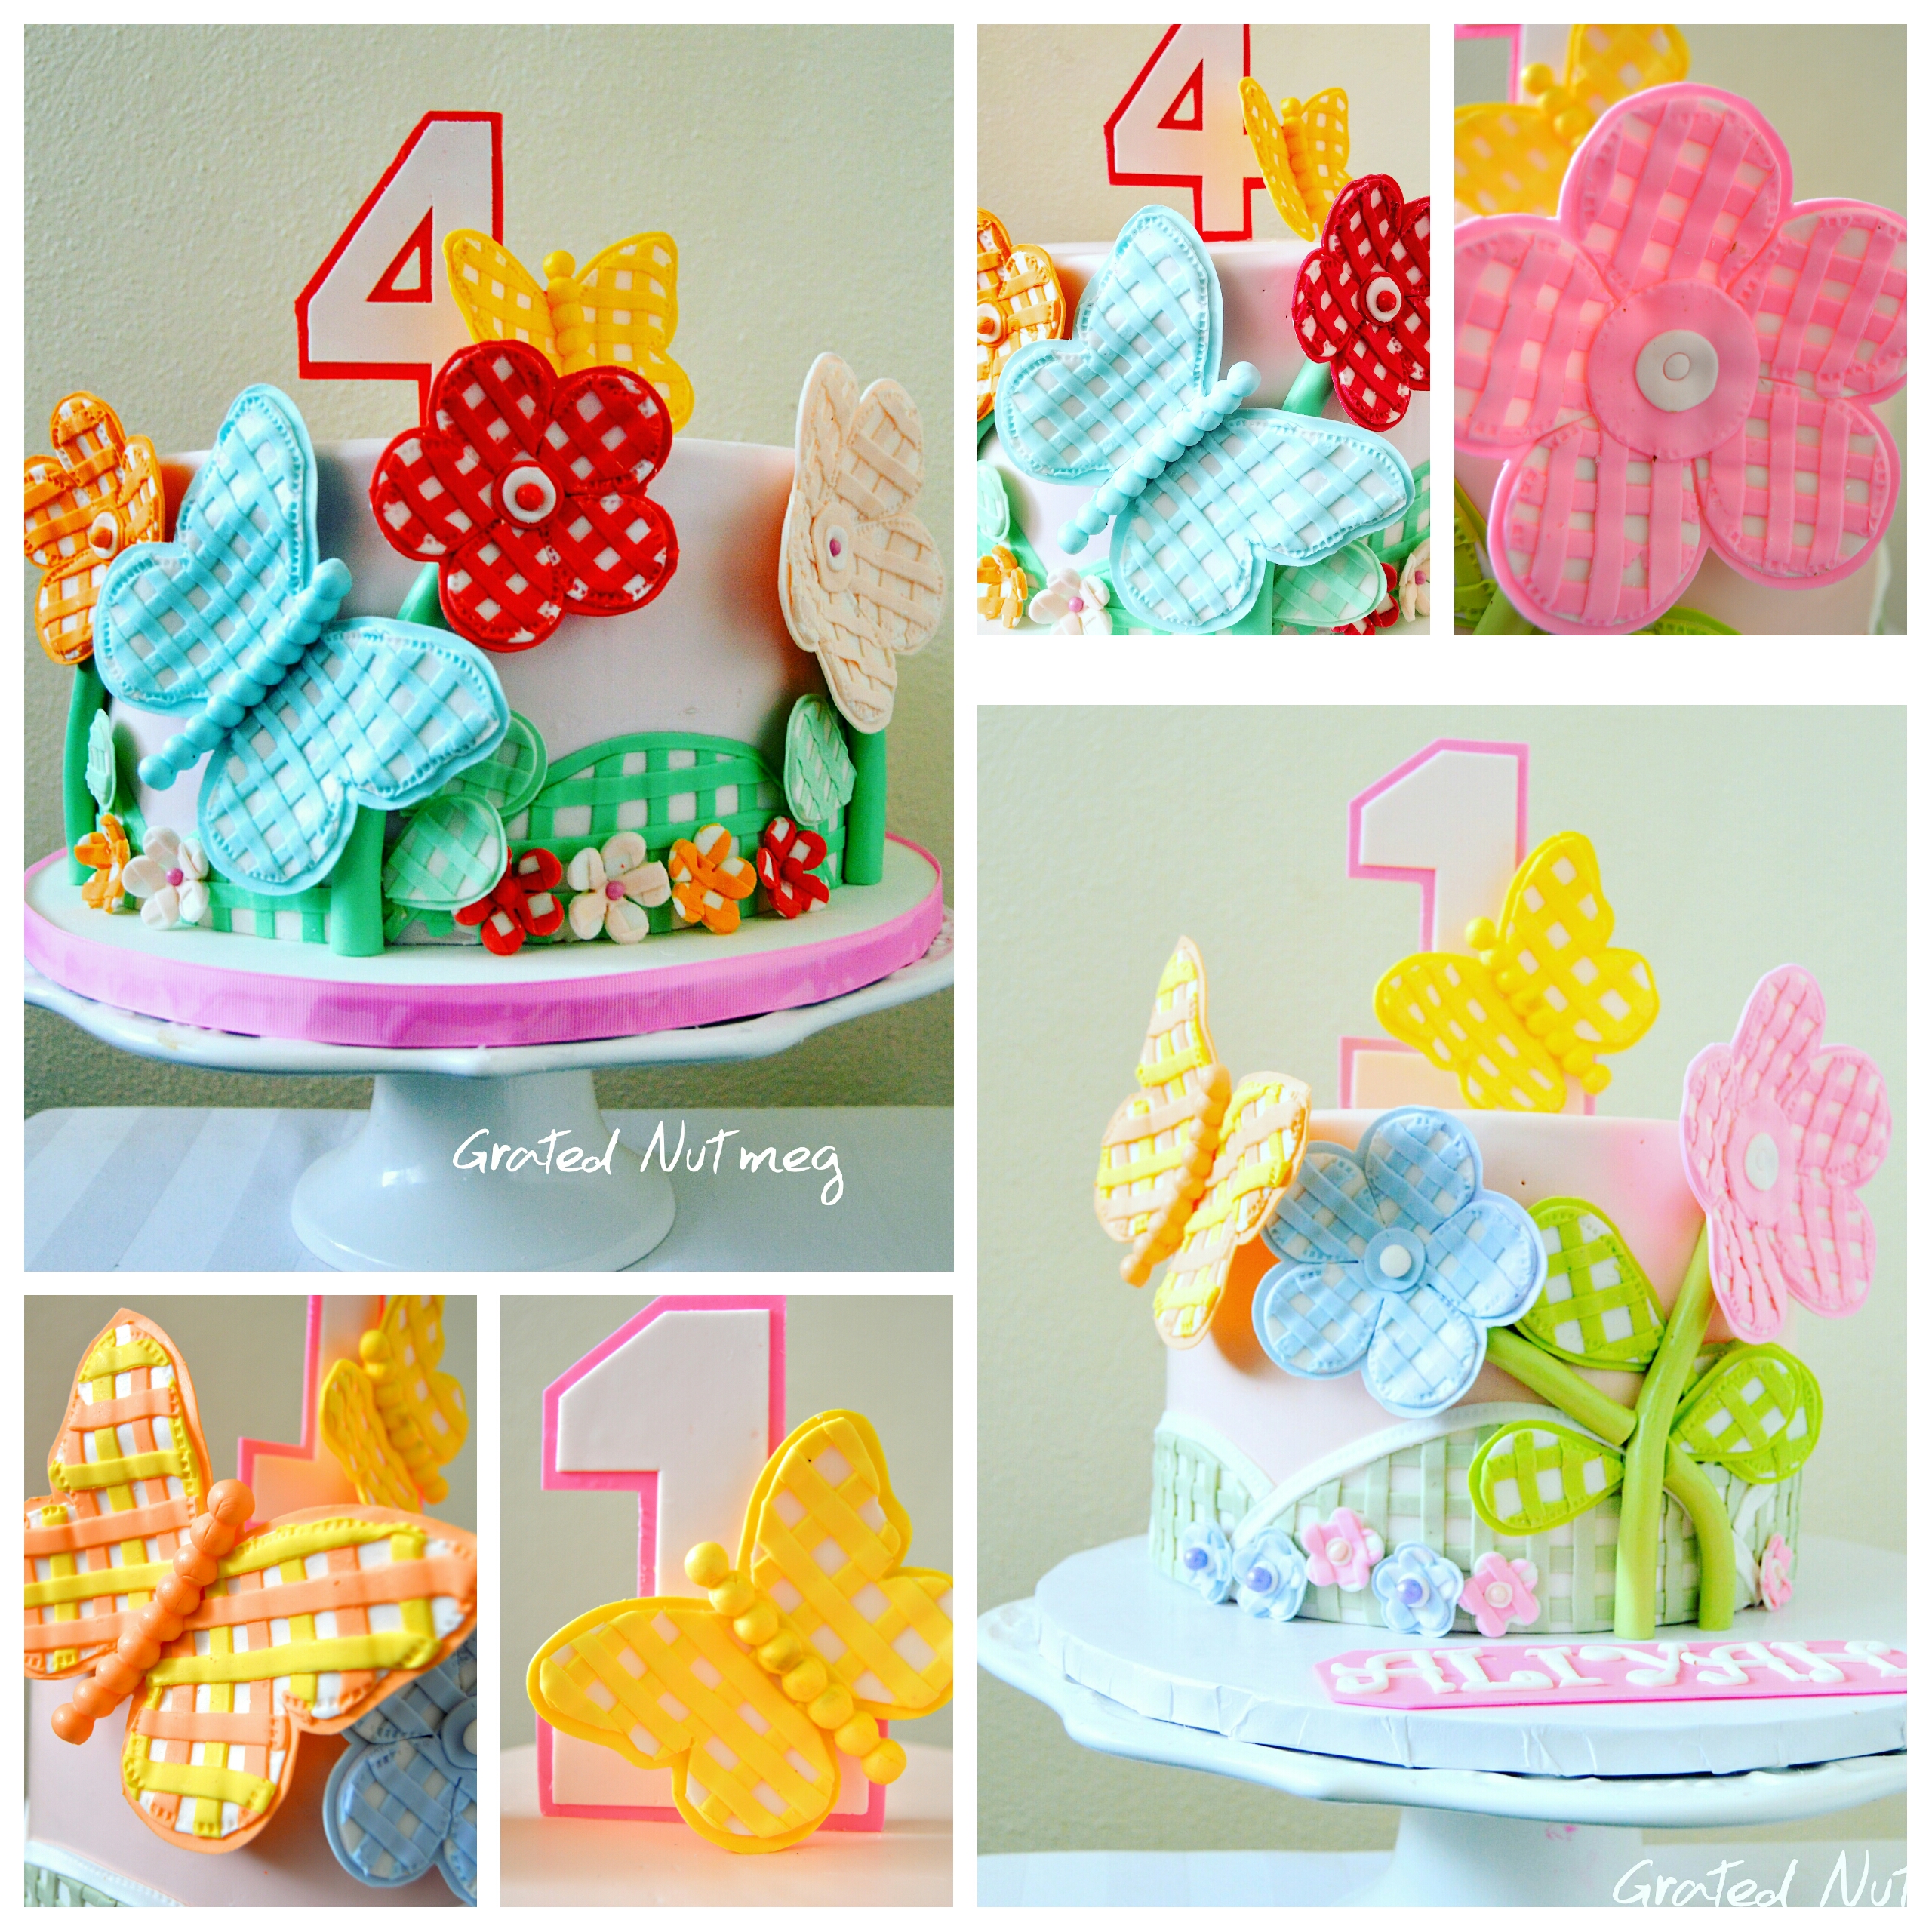
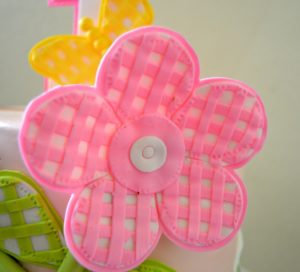
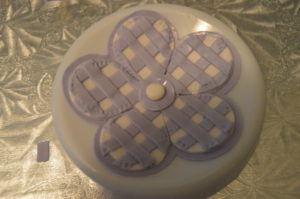
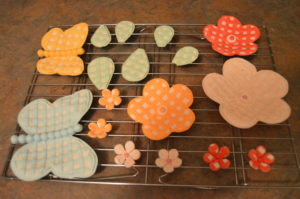
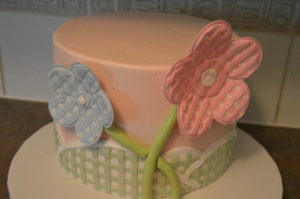
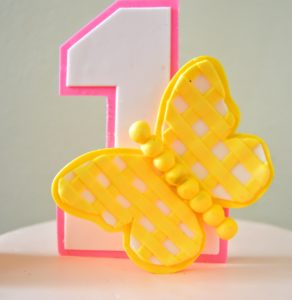
This post illustrates how to make plaid fondant toppers and add-ons for cakes. These plaid fondant toppers can be made in a variety of designs, colors and intensities. In the cakes below, I went with plaid flowers and butterflies as they were made for girls. The process is very straightforward and easy to execute. They plaid toppers can be made ahead of time thus spreading out the cake designing process. See more pictures of these lovely cakes here.
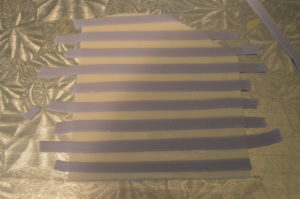
TOOLS:
(1) Rolling Pin
(2) Blade or X-Acto Knife
(3) Flower and Butterfly Cutters (For the butterflies, I printed out images from the web and used them as templates for the cutouts)
(4) Fondant Stitching Wheel
(5) Paint Brush
(6) Flower Drying Cups
(7) Ruler
EDIBLE COMPONENTS:
(1) Fondant
(2) Vodka or Water
(3) Food Color
(4) Melted White Chocolate
THE PROCESS:
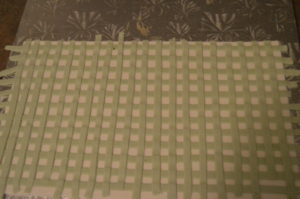
(1) Roll out white fondant and fondant of various other colors. Try to roll out the colored fondants as thin as possible.
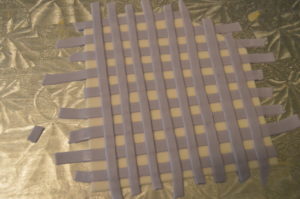
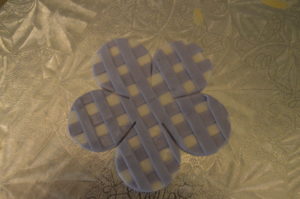
(2) Cut the colored fondants into thin strips of about 5 mm leaving some leftover fondant to complete the design. Brush the surface of the white fondant with a bit of vodka (or water) and stick the strips on it, vertically and horizontally.
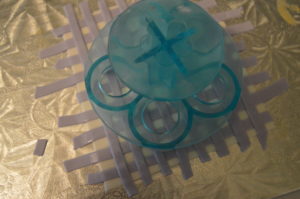
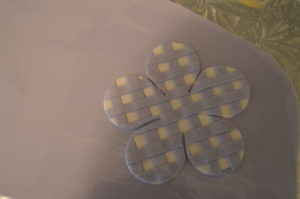
(3) Using your cutter or template, cut out the desired shapes of fondant.
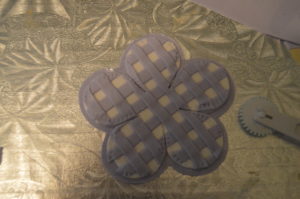
(4) Brush leftover colored fondant with a bit of vodka (or water) and stick the plaid cutout on it. Use a stitching wheel around the edge of the cutout to create a stitch pattern. Cut the colored fondant around the plaid cutout to give the cutout a border.
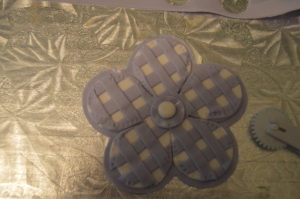
(5) Finish the flowers with layers of cutouts for the center. For the butterflies, I used a pearl mold to make the bodies.
(6) Dry the toppers in flower drying cups and leave them until they are totally dry. You can transfer the cutouts to wire racks after a while to finish drying.
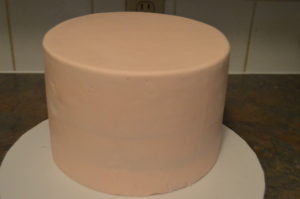
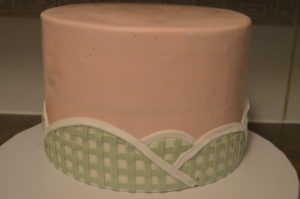
(7) To finish the design, drape your cake with fondant. Make plaid cutouts using the steps above and stick around the base of the cake to serve as rolling hills. These cutouts should be used immediately without drying.
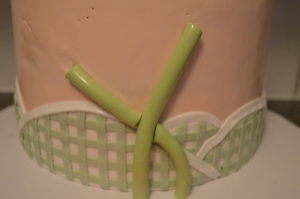
(8) Make stems for the flowers using green fondant and stick to the cake.
(9) Stick the cutouts to the cake using melted white chocolate.
(10) The age should be made ahead of time and left to dry. Insert a lollipop stick (or dowel) into the the cake and stick the age to the stick.
That’s all there is to it. Happy caking!

Wow! This is really awesome Terry.
Thanks Liz
Thanks Terry.you are a genius.
Thanks Jummy
Amazing idea, please how did you make the number topper, is it with a cutter?
Hi. I used a blade and a ruler. Rolled out fondant, allowed it to air dry and then cut out the numbers. My tutorial on how to make letters without a cutter should help you understand the process. That tutorial can be found here.
Thanks big bros, I really appreciate
Thanks Terry.it is a must try..
I am learning a lot from you.
Glad to hear that Nolie.
Wow! Terry, this is beautiful. Thanks for always sharing. Bless u.
Thanks Edirin.
Thanks terry God bless you.
Thanks Keji.
Thanks Terry, you’re super sweet and super gifted. people like you come once in a life time. long live Grated Nutmeg!
Thanks a lot Stella.
That was simple and nice
Awesome!
Thank you Terry. I’m learning so much from you. God bless you.
You are welcome.