Fondant Flat Elephant Topper Tutorial

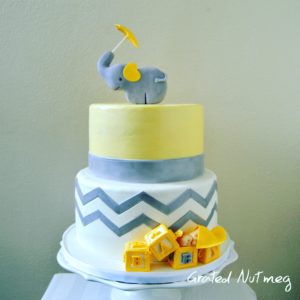
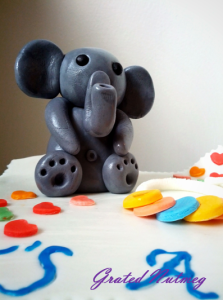
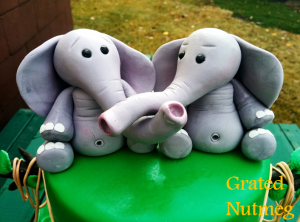
This is a tutorial on how to make flat fondant elephant toppers like the ones used in the cakes above. Unlike your conventional elephant toppers, these ones are unique because they are flat and often come holding fun items like balloons and umbrellas. They are also subject to a lot of interpretations. In some cases, their legs are far apart, and in this case, close together. Like most toppers, they need to be made in advance and left to dry properly before using.
For a tutorial on how to make a simple 3D fondant elephant topper, click here.
For a tutorial on how to make a more complex 3D fondant elephant topper, click here.
TUTORIAL:
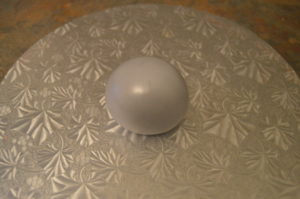
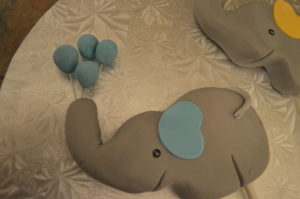
(1) First, make the object which will go into the trunk and leave this to dry. For balloons, shape fondant into smooth spheres and insert floral wires into them.
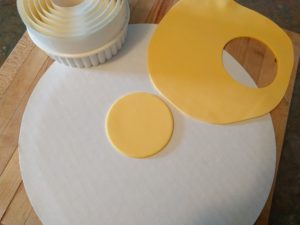
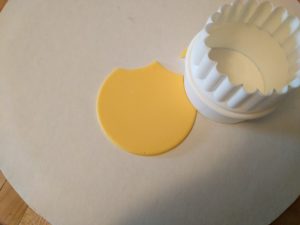
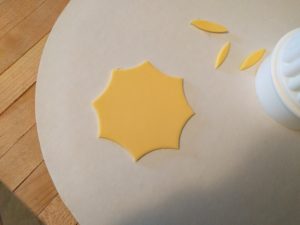
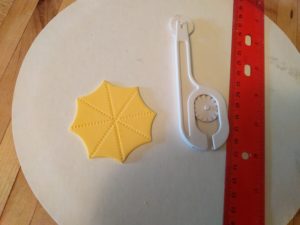
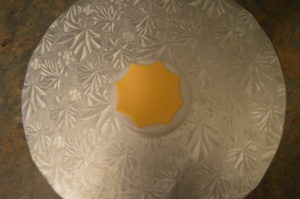
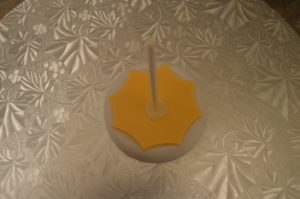
For an umbrella, cut fondant using a round cutter, cut around the fondant with the same cutter, use a fondant stitching wheel to make lines on the fondant, dry it in a flower drying cup, stick a lollipop stick into the middle using melted white chocolate.
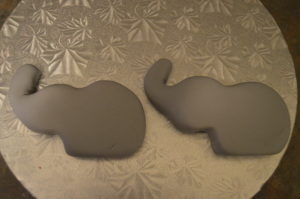
(2) To make the elephants, start with a firm and smooth ball of fondant. I insist on you using firm fondant as they are easier to mold and will keep their shape better.
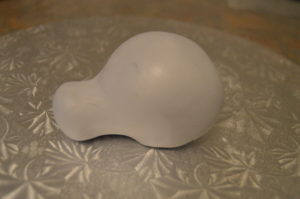
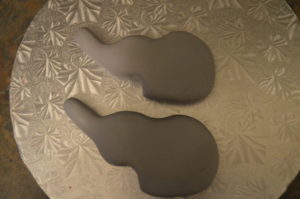
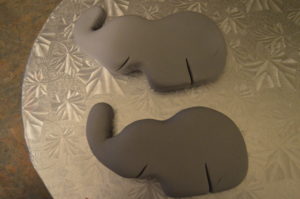
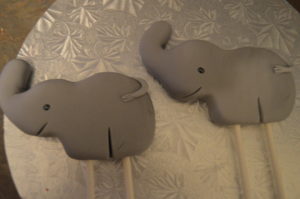
(3) Begin shaping the ball to form the shape of an elephant.
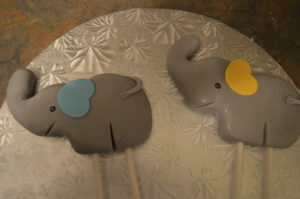
(4) When you are satisfied with the shape, use any indenting tool to mark out the legs and mouth.
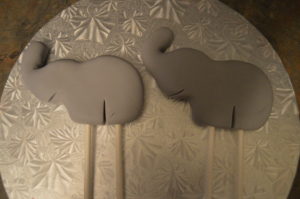
(5) Next, insert lollipop sticks or dowels into the legs. These will be inserted into the cake to make the elephant stand upright on the cake.
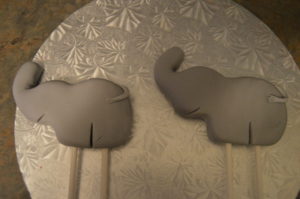
(6) Next, make the tails and eyes. I used black sugar pearls for the eyes.
(7) Next make the ear and stick to the topper. I used a small heart shaped cutter to make the ears.
(8) With the trunks still soft, insert the balloons or umbrella into it and leave the elephant topper to dry on its side.
(9) Insert the topper into the finished cake. For a tutorial on how the Chevron Baby Shower Cakes in this post were made, click here.



Thanks Terry. Learning from the best as always. Tried the scrunch ruffles and it was a “hit”. Thanks for all these tutorials. God bless you.
Awesome. You are welcome Uduak.
Am encourage wit ur lesson. U a one of scarce commodity. Keep d good work,sir.
Thanks.
Hi, how long do I need to let it dry? Do I leave it dry at room temperature? Thanks!
It varies. Yes at room temp.