The Making of a Cars Cake

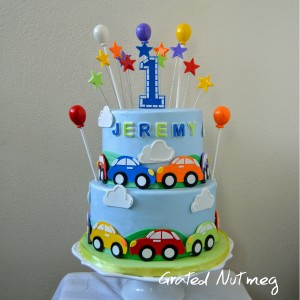
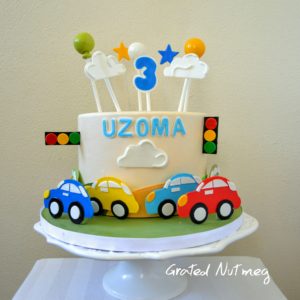
This is a tutorial on how the Cars Cake above was made. To see other views of this cake and have access to the recipes used, click here. This cake can also be made in several variations like the one tier cars cake below.
THE PROCESS:
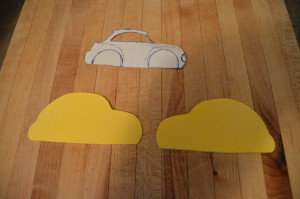
(1) First make the cars. A tutorial for this can be found here.
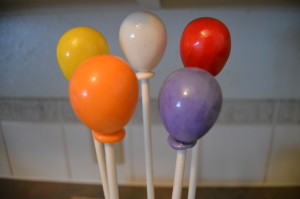
(2) Next, make the balloons. A tutorial for this can be found here.
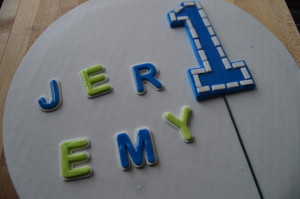
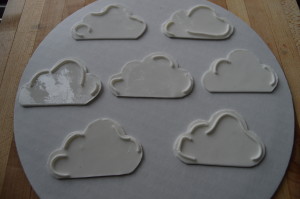
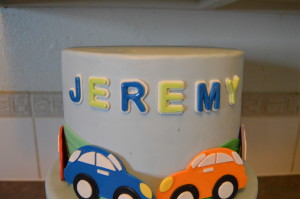
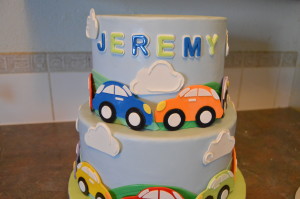
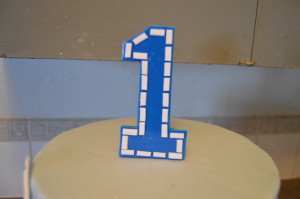
(3) Make the other toppers like the stars, clouds, name and number 1. The stars were inserted into floral wires. The number 1 was bordered with thin strips of white fondant. White fondant strings were glued on the clouds to give them more character. The name was made using a cutter and bordered with white fondant.
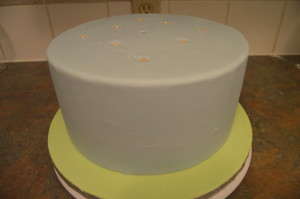
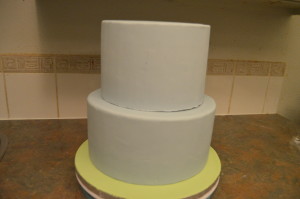
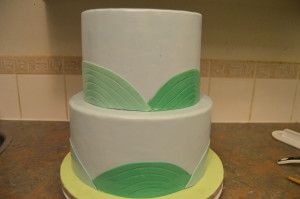
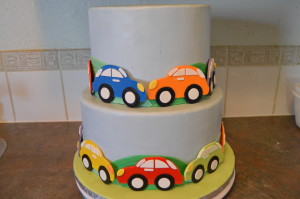
(4) To make cake, cover a cake board with green fondant. Drape both cake tiers with blue fondant. Stick the bottom tier to the cake board, insert dowels into it and stack the top tier on it.
(5) Cut out green fondant ovals and stick around the base of both tiers. Use a fondant stitching wheel to make patterns on the green fondant before sticking to the cake.
(6) Begin to stick the various fondant elements on the cake starting with the cars.
(7) Finish the cake by inserting the balloons and starts. That’s all there is to it. Happy caking!

This cake is awesome! You do very great work.
Thanks Lee.
Nice one boss. Blessedhands.com
Thanks.
Kudos to u my boss. Well done
Thanks Bukky
Thanx Terry. It’s amazing!
Thanks Joy.
Nice cakes,you are my inspiration
Thanks Pamela.
Dnt know how to post my pic in this comment section, i tried dis cake over the weekend & i slayed it almost. Thanks Terry, pls don’t stop sharing frm ur well of knowledge. …I will post d pic on the original post.
Thanks Chimag. I saw the picture on facebook. You slayed it!
hi terry, any tutorial on how to make fondant placing (sizing, amount) on cake? thanks
Hi. No I do not.