Fondant Hulk Fist Tutorial

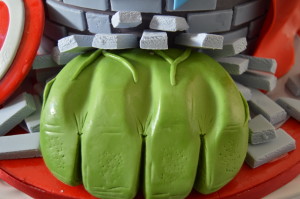
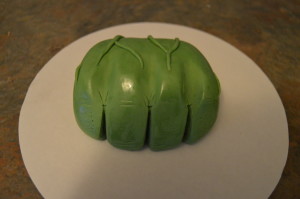
This is a tutorial on how I made the fondant hulk fist above for the Avengers Cake below. This fist was made through a process of fondant molding and indentation. I would advice that you do not use freshly made fondant for this topper as stability and structure is important. This fist can be made days or weeks in advance and stored properly when dry.
TOOLS:
(1) Fondant Smoothers
(2) Paint Brush
(3) Indenting Tools/Fondant Embosser
EDIBLE COMPONENTS:
(1) Fondant
(2) Color Paste (Kelly Green and Moss Green)
(3) Shortening
(4) Water and/or Vodka
PROCEDURE:
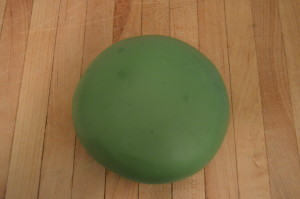
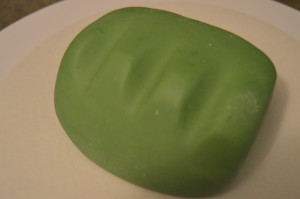
(1) Color and shape fondant into a smooth ball. Greasing your palms with shortening will help in achieving a smooth ball.
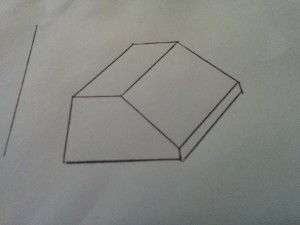
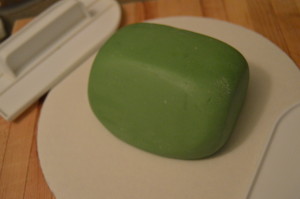
(2) Using two fondant smoothers, shape the ball into the shape of a clinched fist (see sketch below). Keep making reference to your clinched fist throughout the molding procedure as your aim here is to replicate a clinched fist.
(3) Next, use your fingers to make indents to form knuckles.
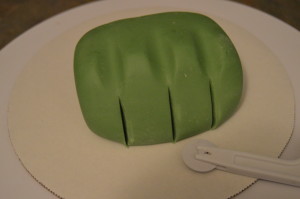
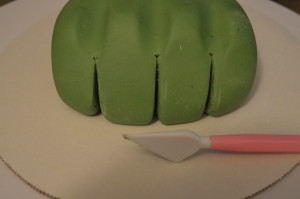
(4) Next, use a fondant embosser to divide the front of the fist into fingers.
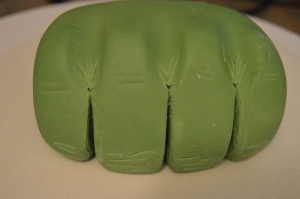
(5) Next, switch to an indenting tool and properly define the space between each finger. Also create lines and folds on the fist like you would notice on a clinched fist.
(6) Roll fondant into tiny strings and create veins on the fist. Brush the finished fist with a bit of water or vodka if you want more shine.
(7) Your fist is now ready to be used on your decorated cake.
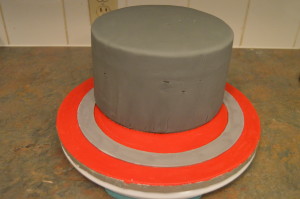
For a complete tutorial on how this cake was made, click here.


Good tutorials Terry thanks
You are welcome Mosun