Queen Cakes
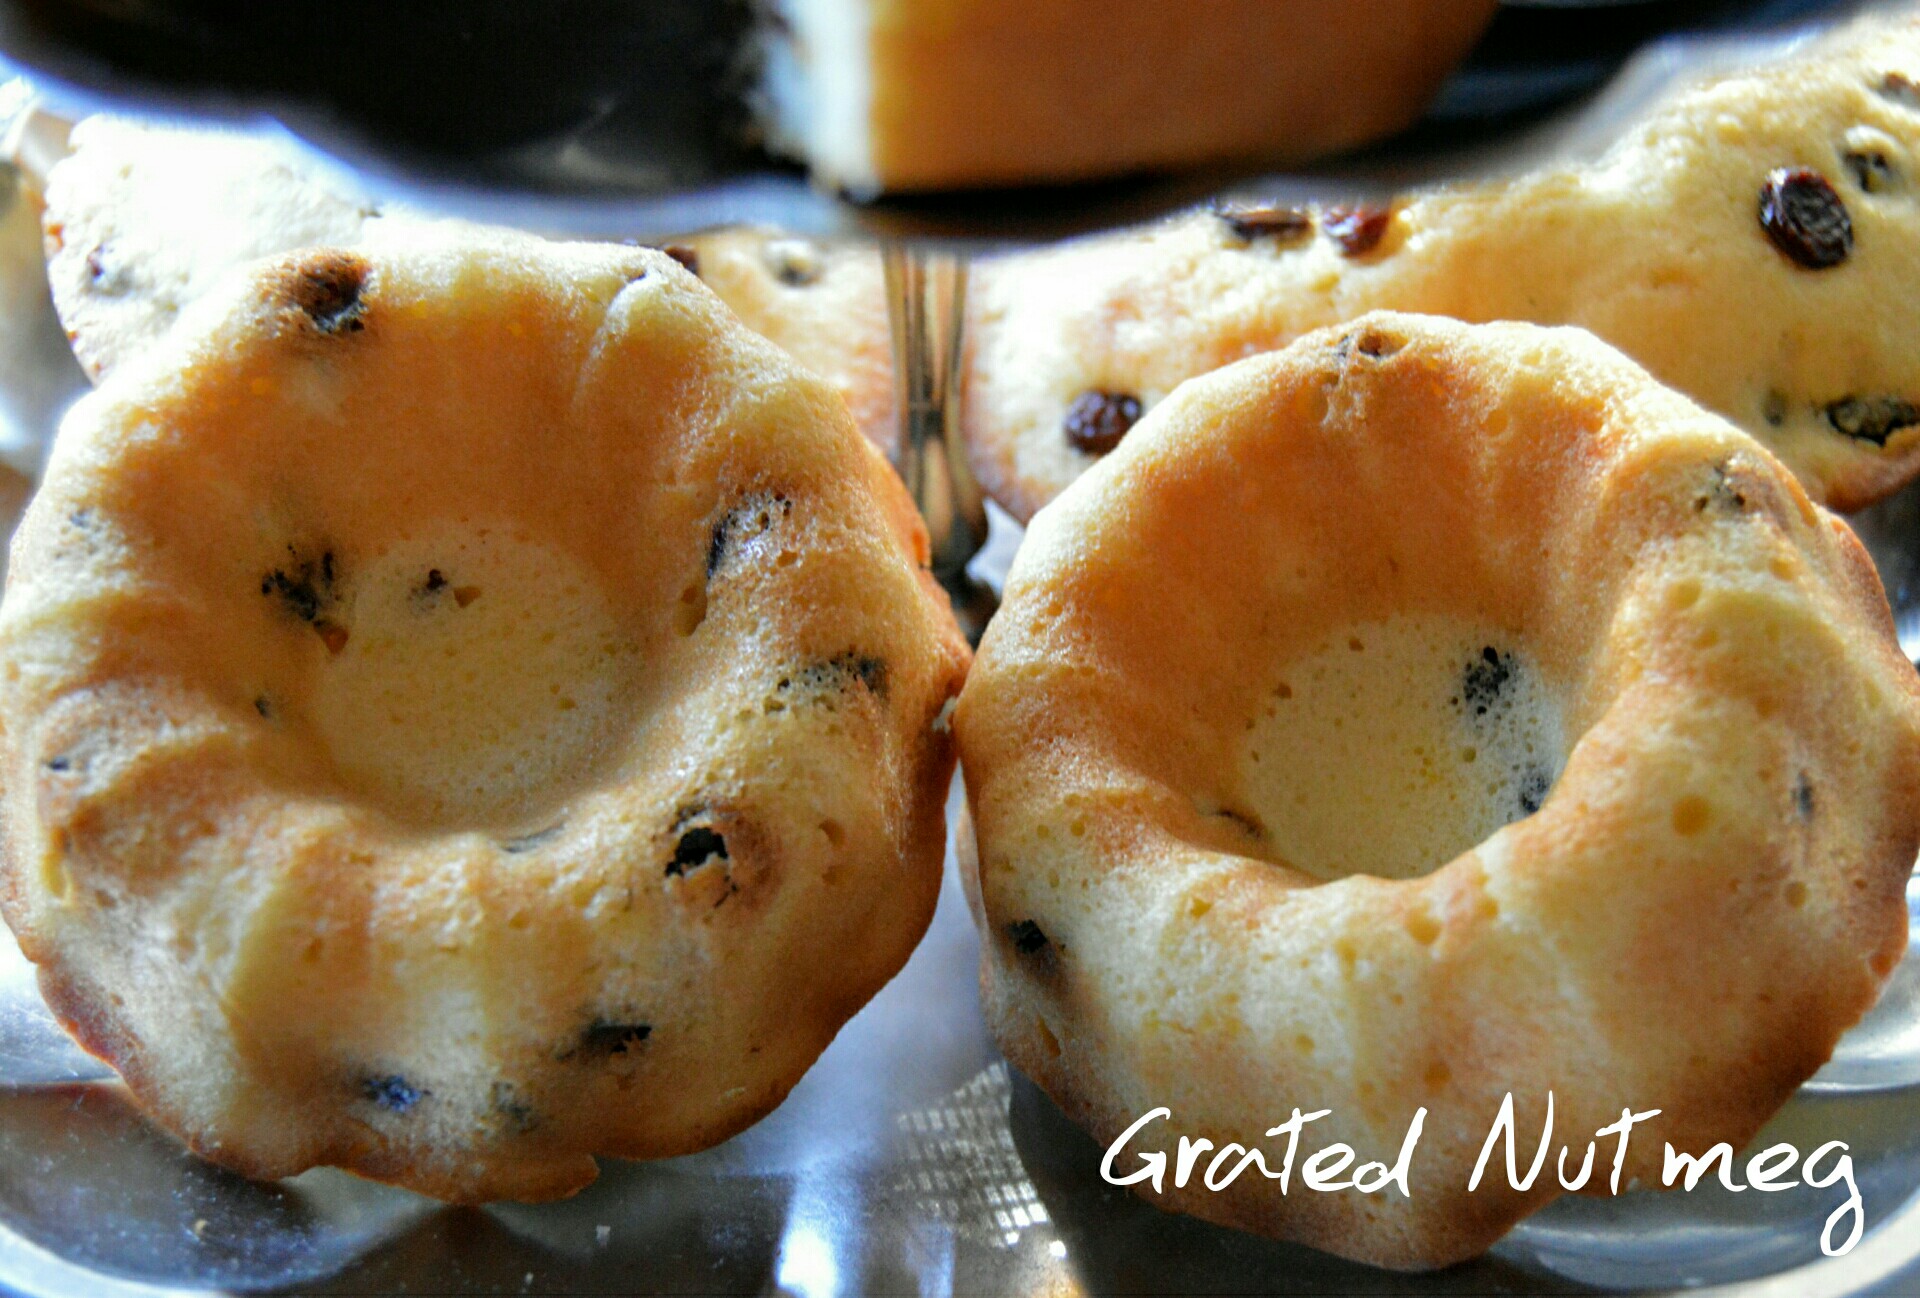
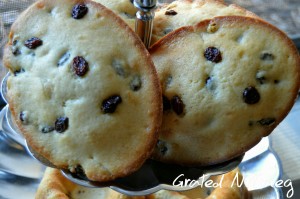
Queen cakes as the name implies are cakes which were served to the English royal family at tea time and became very popular during the reign of Queen Victoria. They are essentially miniature sponge cakes filled with yummy raisins or currants. These lovely cakes are buttery, light and fluffy and often with a mild citrus flavor which comes from the addition of lemon or orange zest. Though there are several recipes for making these majestic cakes, the inclusion of raisins is an absolute necessity. This is a personal recipe of mine developed from childhood memories when my mum would bake these cakes for us to take to school as part of our lunchbox snacks.
INGREDIENTS:
(1) 4 Large Eggs
(2) 200 Grams Granulated White Sugar (1 Cup)
(3) 1 Teaspoon Pure Vanilla Extract
(4) 1/2 Teaspoon Butterscotch Flavor
(5) 260 Grams All Purpose Flour (2 Cups)
(6) 1 Teaspoon Baking Powder
(7) 1/2 Teaspoon Salt (See Note 1)
(8) The Zest of 1 Lemon
(9) 1/2 Cup Evaporated Milk (See Note 2)
(10) 170 Grams Unsalted Butter (3/4 Cup) (Melted)
(11) 3/4 Cup Raisins/Sultanas/Currants
NOTES:
(1) If using salted butter, leave out the salt in the recipe.
(2) You can use regular milk (whole or reduced fat) in place of evaporated milk.
PROCEDURE:
(1) Preheat the oven to 350 degrees.
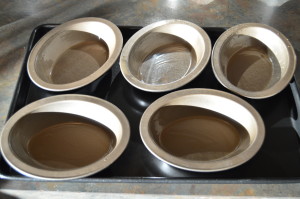
(2) Grease small cake pans of various shapes and sizes. The size of pans you use will determine the number you will need. I used a total of 7 pans here, each containing about 3/4 cup of batter. Place the greased pans on a large baking tray for easy of travel to and from the oven. If you do not have small cake pans, muffin and cupcake pans can be used, with or without the liners.
(3) In a large bowl, mix together the flour, salt and baking powder. Grate the lemon zest into the blend and mix to combine. Take a tablespoon out of the flour mixture and coat the raisins with them. This will keep them from falling to the base of the batter during baking. Melt the butter and set aside.
(4) In the bowl of your stand mixer fitted with the paddle attachment, place the eggs (at room temperature) and sugar and beat at high speed until thick and glossy. About 5 minutes. This will incorporate air into the batter and make the cakes light and fluffy. Add the vanilla extract and the butterscotch flavor. Mix to combine.
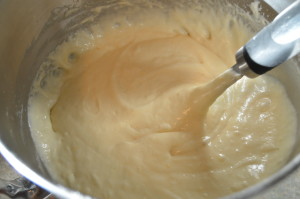
(5) With the mixer running at very low speed (stir) add half of the flour mixture, the evaporated milk and the remaining flour mixture. Stop the mixer after adding the remaining flour and finish mixing the batter with a rubber spatula, folding gently. Your aim here is not to deflate all the air you have worked into the batter.
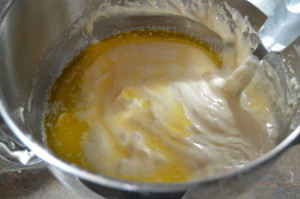
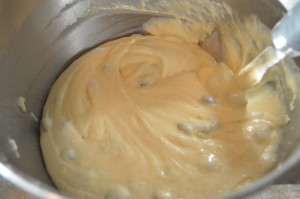
(6) Add the melted butter to the batter and fold in with a rubber spatula. Be sure to get to the bottom of the bowl while folding in as the melted butter will sink to the bottom of the bowl.
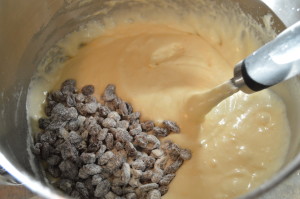
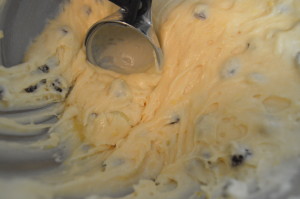
(7) Finally add the coated raisins to the batter and fold in.
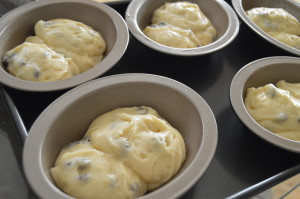
(8) Using an ice cream scoop or spoons, fill the greased pans with the batter. The batter should appear spongy.
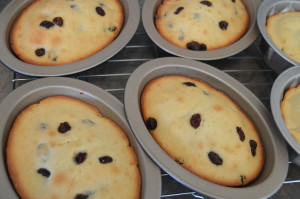
(9) Place the cakes in the preheated oven and bake. You can add some more raisins to the top of each cake before baking. The size of the cake pans and quantity of batter would determine the baking duration. I baked mine for 22 minutes. I would advice you start checking at 20 minutes. They are ready when a toothpick inserted in the middle of several comes out clean. Place the cakes on a cooling rack and allow to cool for about 10 minutes before taking them out of the pans.
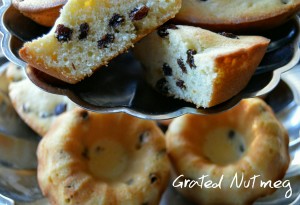
(10) These cakes can be enjoyed warm or at room temperature. Leftover cakes should be wrapped and stored in air tight containers or in the fridge. They are the perfect tea time snacks.
BONUS RECIPE:
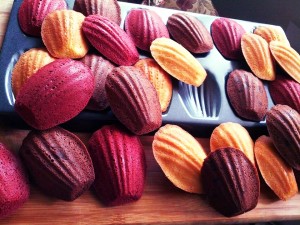
If you love queen cakes, you will love Madeleines. Recipe here.



lovely tutorial good boss
Thanks Atinuke.
Thank you….Looks super easy.
I’m waiting for yours Bola.
Hello Terry! Good day. Please I have this job to deliver. But the challenge am having is how I can achieve the detailing. Please can you help out.
It’s an open box cake with beads and wrappers on the surface is some kind of stones and rough surface. Wish I could attach it so you can see it.
Thanks.
I really do not understand how you want me to help. Do elaborate please.
Thanks it look yummy
I will try it later
Do give it a go Ify.
I will definitely try it. Thank you for the recipe
You should Uju. You are welcome.
Sannu da aiki malam Terry.My mum used to supply the shops around back then. No visiting day was complete for me without those cakes.
Na gode Gloria. I bet you had a lot of fun with these growing up.
Thanks for the receipe. It’s so clear n easy to follow. But can I use margarine or vegetable oil in place of melted butter ?
I have never tried it. It should work though. Why not give it a go and let us know how it turned out. Thanks.
Easy to understand tutorial @terry I want to try thesewill it be ok to use the 8inch cake pan and pour the whole batter
Yes you can do that. Baking time would however be longer.
Thank you Terry for this recipe. It reminded me so much of my childhood. Everything was perfect but the sugar was a bit too much, my kids loved it though. Once again, thank you. I look forward to more “easy and simple” recipes as this.
You are welcome. I guess the sugar was too much for your personal preference. I’m sure your kids didn’t complain 🙂
this is wonderful I will try it soon
You should. Thanks.
This is awesome Terry.welldone!
Thanks Martina.
I just checked this site out. A job well done Terry. I’ll really love to learn from you. And these queen cakes? They look yummy, got to try them out.
Thanks. They do taste great.
There’s something i dont get about d measurement,measuring cups here in nigeria is 250,125,83,62,31. So which size am i to use where u say 2cups
I use regular baking cups. 1 cup is 237 ml. I have seen bakers in Nigeria use the same cups. I am not aware of the cups of which you speak.
He is right Terry. Cups in nigeria is 250, 125 etc.please give us the list of the correct measurements of 1cup,1/2cup,1/4cup,1/8cup etc
I don’t have the list. You should be able to do the calculations yourself and maybe share with everyone else here on the blog. That would be great. No?
1cup-237ml
1/2cup-118.5ml
1/3cup-79ml
1/4cup-59.2ml
1/8cup-29.625ml
Hi Terry. This looks so yummy! Thanks for sharing.
Why do I have to melt the butter, I use simas butter, and normally I mix butter and sugar at the beginning
Because its a sponge cake. And Simas is margarine and not butter.