The Making of a Frozen Cake with Sven’s Antlers

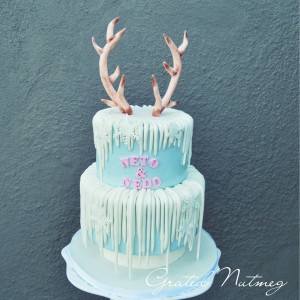
In this post, I will be showing you how I made this unique Frozen themed cake which features a pair of Sven’s antlers on top of it. This is quite a unique cake which any cake decorator is sure to have fun making. To read more about this cake and get links to the recipes used, click here.
THE PROCESS:
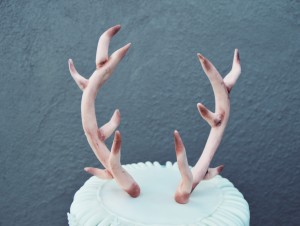
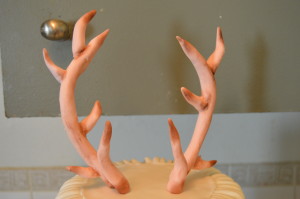
(1) First, make the antlers. I have a tutorial here on how I made them. They should be made at least 24 hours ahead of time and left to dry.
After making the antlers, use a snowflake mold to make white fondant snowflakes. Leave these to dry too.
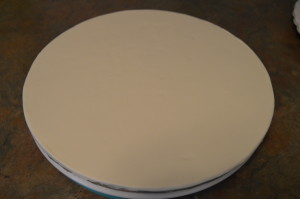
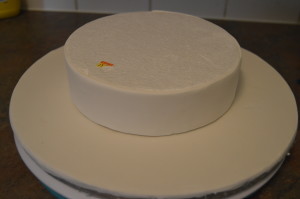
(2) Next, drape the cake board with white fondant. Cover the sides of a 6 inch round Styrofoam with white fondant. The Styrofoam should be 2 inches high. Stick the Styrofoam to the middle of the cake board. If you can’t find 2 inch high Styrofoams, use a serrated knife or any other tool of your choice to cut one to the desired height.
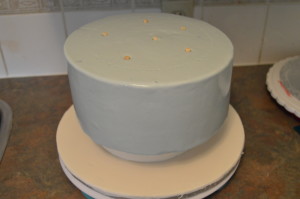
(3) Drape both tiers with sky blue fondant. The top tier is 7 inches while the bottom tier is 9 inches in diameter. Stick the bottom tier to the top of the Styrofoam. I use melted white chocolate as my gluing agent.
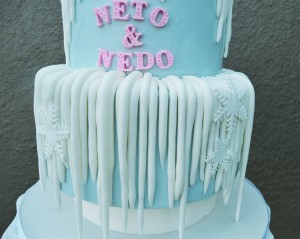
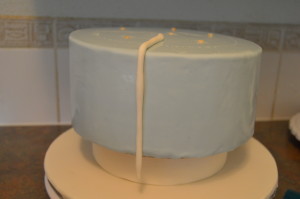
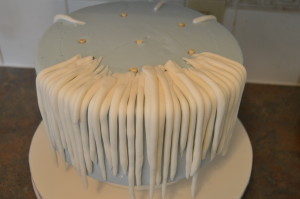
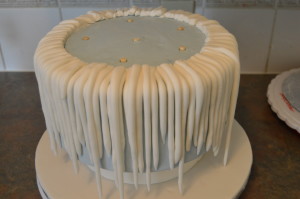
(4) Next, make the icicles which will go around both tiers. To make the icicles, roll white fondant between your palms to form ropes with pointed ends. Brush the cake with vodka and stick the icicles to the cake starting from the top and running down the sides. They should be placed next to each other with a few overlapping each other. The icicles should be of various lengths with some extending down to the cake board.
When you have gone round the cake with the icicles, use a 7 inch cake card as a guide to cut off the excess fondant at the top of the cake. This would create a perfect circle for the top tier to rest.
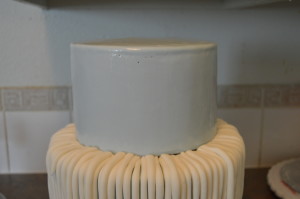
(5) Next, dowel the bottom tier and stack the top tier on it.
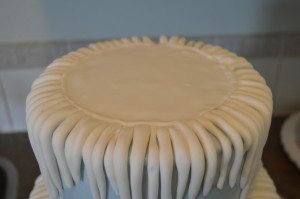
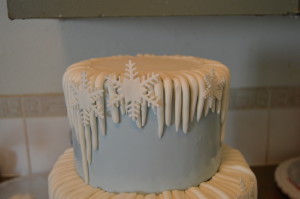
(6) Next, repeat the same process of sticking the icicles as you did with the bottom tier on the top tier. However this time around, be sure to make shorter icicles for the front part of the top tier. This is where the message will be written on the cake. When you are done, cut out a round piece of white fondant and cover the top part of the top tier with it.
(7) Next, stick the snow flakes randomly on both tiers.
(8) Insert the antlers into the top tier.
(9) Finish the look by placing the names in front of the top tier. The names were made using a letter mold. That’s all there is to it. Happy caking!

It looks beautiful! Both gothic and fairy-tale like.
I would want such a cake to taste like Parma violets.
I love all of your creations – they’re amazing.
Thanks Neyon. I appreciate your feedback.
Hey Terry, I love your creations… You inspire me a lot. Please how do I make the talking drum that is usually placed on the top of a Nigerian traditional cake?
Thanks Mrs. Deen. I do not have a tutorial on that yet. Hopefully something comes up soon.
Ok… Thank you Sir