The Making of a Cars Cake

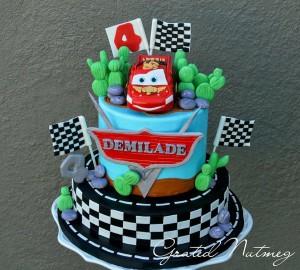
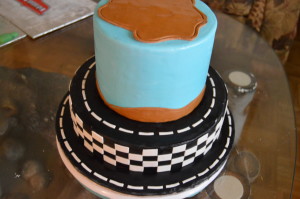
In this post, I will be showing you how I made the Cars Cake above. This is a cake sure to please any kid. It involves a lot of planning, preparation and patience. With these, executing this cake would be a walk in the park. To read more about this cake, see other views of it and know the type and sizes of sponges used, click here.
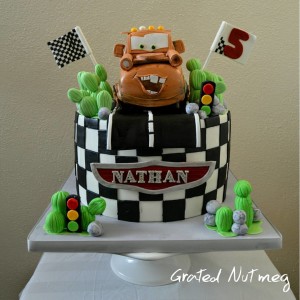
For a separate tutorial on how I made the Cars Cake below, click here.
THE PROCESS:
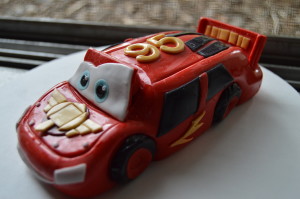
(1) Like I said earlier on, this cake involves a lot of preparation. First, make the fondant Lightning McQueen. I have a pictorial here on how I made it.
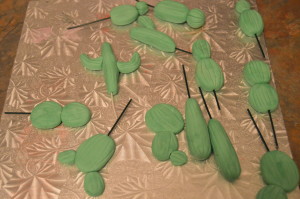
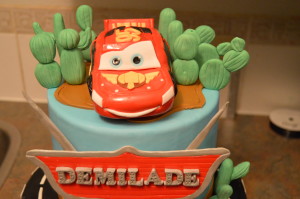
(2) Next, make the fondant cactus plants used on the cake. These were made free hand out of green fondant. Spaghetti was used to join the several pieces together. The ridges were made using a fondant wheel. The use of spaghetti as opposed to floral wire is good when making small fondant molds. This is to protect kids against hazards. As an aside, be sure to always notify your clients about portions of the cake or design which contain floral wires and other things which might be harmful to kids.
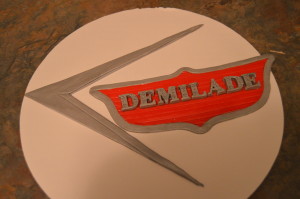
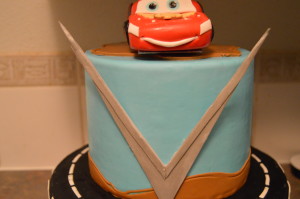
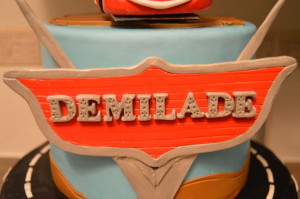
(3) Next, make the “V” and name plate out of fondant.
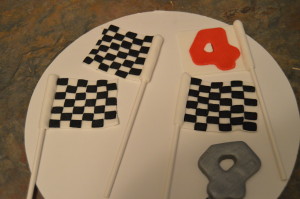
(4) Finally make the flags. The flags were made using white fondant wrapped around the top of lolly pop sticks. Small black fondant squares were stuck on the flags. One of the flags had the number 4 which is the age of the kid. All of the above can be made weeks in advance.
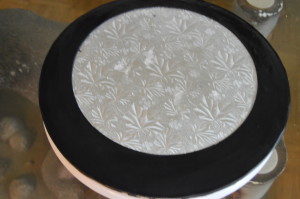
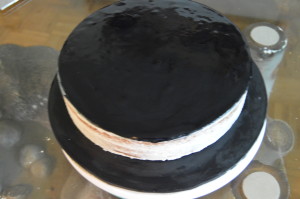
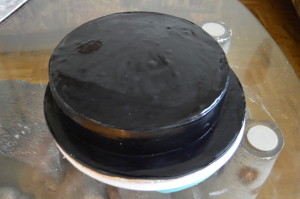
(5) Now to the cake decoration itself. Cover the cake board with black fondant. Stick the bottom 10″ tier on the cake board.
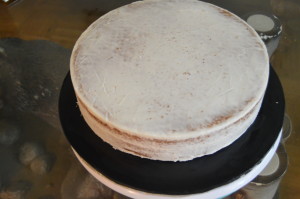
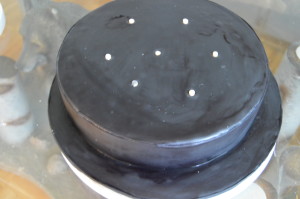
(6) Next, cover the top of the bottom tier with a black fondant disk. Wrap the side of the cake with black fondant and place dowels in the bottom tier.
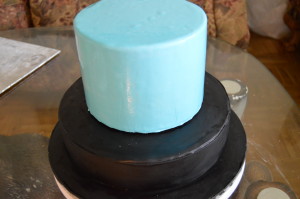
(7) Drape the top tier with blue fondant and stick it to the bottom tier.
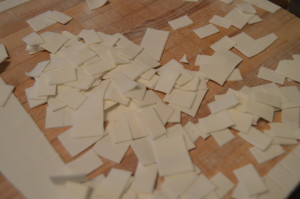
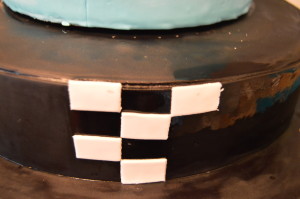
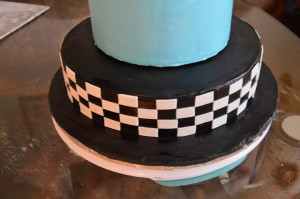
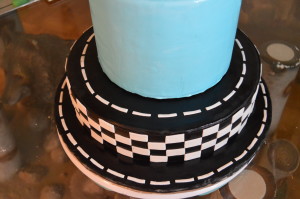
(8) Next, make the black and white check on the bottom tier and the white broken lines on the top of the bottom tier and around the cake board. To make the check design, cut out white fondant rectangles and glue them to the side of the bottom tier. To get straight angels, roll out the fondant, leave it it dry a bit, and then cut it into rectangles using a sharp wheel cutter and a ruler.
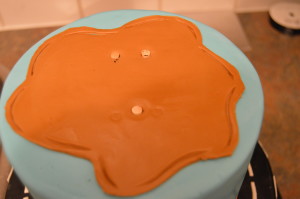
(9) Next, roll out brown fondant, cut out a strip with a wavy top and wrap around the base of the top tier. Cut out another piece of brown fondant in the shape of a blob and stick it on top of the top tier.
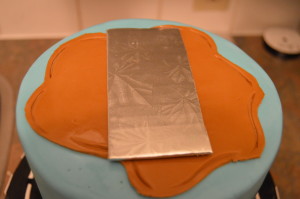
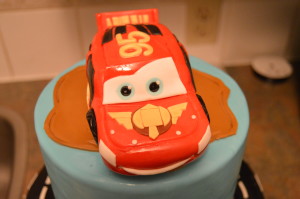
(10) Next, stack the car on top of the top tier. Place a few dowels in the top tier which would serve as support for the car and prevent it from pressing down on the cake. Stick a small cake card on the top tier and place the car on it.
(11) Next, stick the “V” and name plate to the front of the top tier.
(12) Next, insert the cactus plants into the cake.
(13) Finish the cake design by placing stones (white and grey marbled fondant rolled into smooth spheres) and inserting the flags into the cake. Insert the flags just before delivery or pick up so the lolly pop sticks do not get soggy. That’s all there is to it. Happy caking!

Leave a Reply